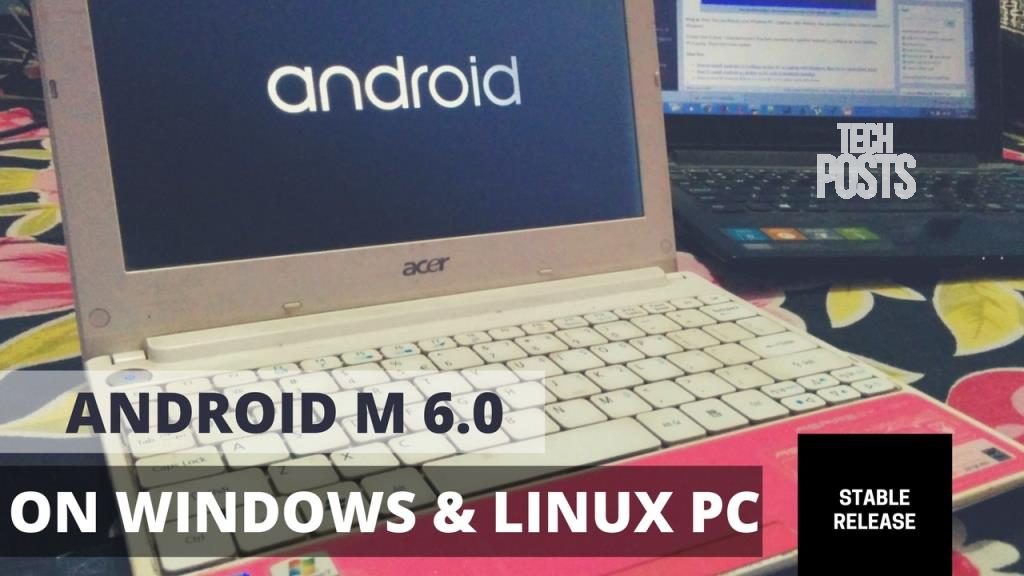
Hey Guys..!! We’ve talked previously about How to install Android 4.3 on Computer/Laptops/Netbook and Now This is a tutorial about Installation of Android 4.4 KitKat which is the latest version of Android launched till date, on your Netbook or Laptop/Computer along with your Windows 8 or Windows 7 OS. Whether you want to play with Google’s mobile operating system or give new life to an otherwise discarded device, Android-x86 gives everyone a way to install Android on Intel netbooks or Laptops.
It’s fast. Even better: the latest version of Android-x86 comes with access to the Android Market, something almost impossible to set up on older Intel versions of the software. This means you can try out Android apps on Android 4.4 KitKat before you decide to buy an Android device.
UPDATE: How to Install Android 6.0 Marshmallow OS on Computer or Laptop
Heck, your Netbook could end up becoming your Android device with Windows 8 or 7(MultiBoot).
It’s not terribly complicated to install, especially if you’ve installed some form of Linux in the past. Let’s walk through the process, then briefly explore Android on the netbook.
Also Read: How to Dual Boot Remix OS with Windows OS – UEFI / Legacy Support
Features of Android 4.4.2 x86 KitKat for Computer/Laptops:
- Integration of the ffmpeg as the stagefright-plugins to support much more multimedia files. Now we can play HD and full HD videos in apps.
- Use the latest longterm stable kernel 3.10.30 with more drivers enabled. Most netbooks can run Android-x86 in the native resolution.
- OpenGL ES hardware acceleration for AMD Radeon and Intel chipsets (not include the PowerVR chips).
- Enhance the installer to support upgrade from previous versions (since ics-x86). The text based GUI installer supports ext3/ext2/ntfs/fat32 filesystems.
- KitKat style lanucher (Launcher3).
- Support Multi-touch, Wifi, Audio, Bluetooth, G-sensor and Camera.
- Simulate sdcard by internal storage.
- External usb drive and sdcard are auto mounted to /storage/usbX on plugging.
- Support hybrid mode of iso images.
- Multi-user support (max 8).
- Support Ethernet (DHCP only).
- Support VM like Qemu and VMware.
Step One: Download Androidx86 4.4-RC1 KitKat.iso
To get started, head to the Androidx86 project page. You’ll find the download here, but make sure you download the latest version: 4.4, better known as KitKat.
There is only one versions of 4.4 offered and it runs smoothly on almost every Laptop and netbook with 32-Bit.
Desktop users: it’s probably not worth trying if you own a 64-Bit Machine but if you have a 32-bit or x86 based machine then Go Ahead.
Must See: One Click Android x86 5.1 Lollipop OS Installation on Windows PC – Dual Boot PC
Step Two: Copy To A Flash Drive
Now that you found the ISO file you need, it’s time to write it to a USB drive so you can boot from it. There are two main programs for doing this: UNetBootIn, which is cross platform, and Linux Live, which is only for Windows but very straightforward.
NEW UPDATE: How to Install Android 6.0 Marshmallow on A External Hard Disk Drive
Use whichever you prefer; just copy the contents of the ISO to a flash drive. It doesn’t need to be huge: 1 GB should do it.
Click Here To Download Unetbootin
or
Click Here To Download Rufus – Bootable USB Creator
Step Three: Install
Now that you’ve got your USB drive, it’s time to boot from it. You’ll see this boot screen:
If you just want to try out Android, go ahead and select the LiveCD mode. You won’t be able to save any customizing you do, of course, but it’s a good way to see how well Android works on your system.
If you’d rather get straight to installing Android, go ahead and pick the “Install” option. There’s not a lot of options for dual-booting built into the installer, so be warned: getting that working might take some skills on your part. See the Androidx86 installation instructions for more information. If you don’t care about losing your current OS, though, installation is straight-forward.
Also See: How to Install Android 6.0 Marshmallow on A External Hard Disk Drive
Watch this Video Tutorial
Screenshots of Installation:
Now that You have installed the Android 4.4 KitKat Os Successfully, you can enjoy all android apps and games on your System.
Many Google staples are included, along with a number of other utilities and games. The best part: AndroidX86 now comes with access to the Android Market. Not everything will work, but I got my favorites apps working: Dropbox, Evernote, Wunderlist and Toggl. I even found a remote for XBMC that I’ll surely be writing about later. With some help from Google Voice I even got SMS messaging up and running!
You can install enjoy Whatsapp Messenger, We Chat and other Apps with ease.
Conclusion
Why try this? First of all: because it’s fun. Sure, it’s not the same as buying a new Android tablet, but breathing new life into an otherwise idle netbook is cool. Don’t forget to Share and subscribe us by entering your E-mail ID or Follow us on Google+


