So today I will show you how to make Intel HD graphics work on your Hackintosh PC or Laptop. In other words, how to enable full IntelHD graphics acceleration in Kaby Lake and Skylake Hackintosh. Using this guide, you will be able to activate InteHD 520, 530, 615, 620, 630, 640, 650 and even other older series IntelHD Graphics. The process will be same for all. So let’s start with this HowTo Guide. I have also attached a video guide so that a newbie can also understand how to fix IntelHD graphics in MacOS Hackintosh.
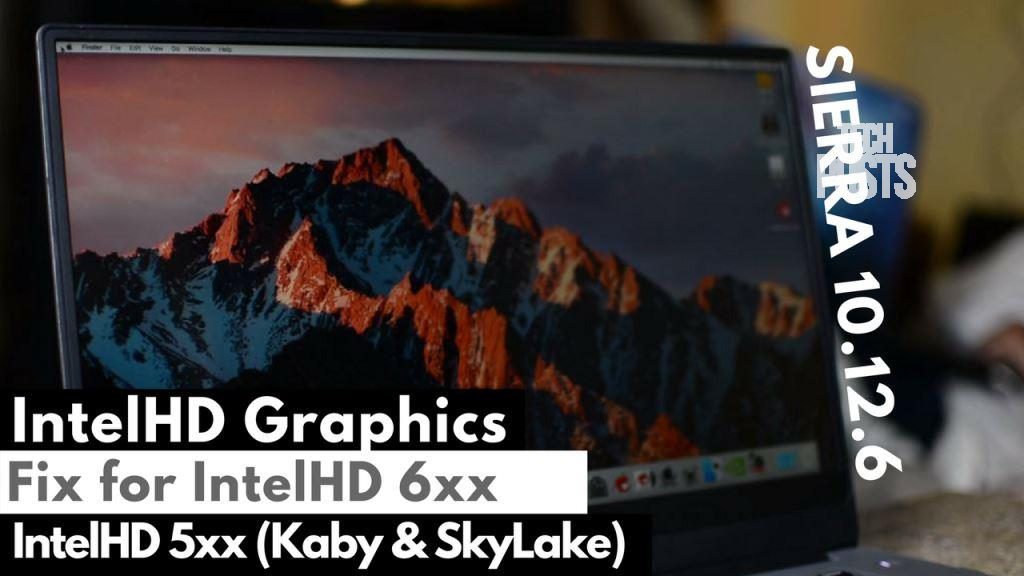
Fixing IntelHD Graphics in MacOS Sierra
Want your home to be as Smart as you and your Smartphone? Learn Home Automation with Google Assistant and Alexa under $10 or ₹700
Pre-Requisites:
First, you must update your Sierra Hackintosh to the latest version which is the 10.12.6. If your system is running MacOS Sierra 10.12.6, you can proceed with this tutorial, if not, please go ahead and watch this tutorial below to know how to update Hackintosh to MacOS 10.12.6. (Hit Subscribe for more)
https://www.youtube.com/watch?v=F-QolPUXsyg
Follow Steps to Fix IntelHD Graphics in MacOS X Sierra
After updating to MacOS 10.12.6, open MultiBeast and then in Bootloaders, select Intel graphic 6xx 5xx and then install the patch.
Now the next step is to download this Compressed folder. Extract it anywhere on your MacOS system. Inside that folder, you will find EFI Mounter app, IntelHD Graphics Kext files and Kext Utility to install Kexts on your Hackintosh. So next, we are going to do is install these kexts.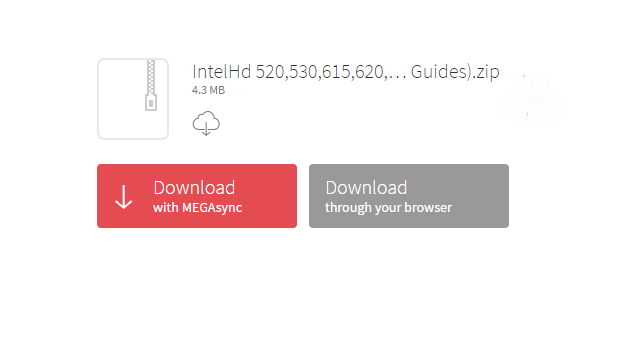
These kexts are customized and edited to work with IntelHD 600 and 500 series but you can always try them with older and update us.
Now download the appropriate Config.plist from Rehabman’s repository. For example, if you are fixing Intel 600 series, Download config_HD615_620_630_640_650.plist. Thanks to Rehabman for the patch. Similarly, If your system uses Intel HD 500 series or 5000 or 4000 or older series, download the corresponding config.plist file from the list by following the same link.
After downloading, Rename the file to just, config.plist. Alternatively, you copy the code and paste it in the existing config.plist present in the clover folder (watch video guide below to know How).
Then use EFI mounter app or Clover configurator to mount the EFI partition of your MacOS disk. Open the EFI partition, go to EFI>Clover.
OPEN config.plist with a text editor and paste the code and save the Plist file. As i just said, You can also simply download and then replace it with the config.plist instead of editing code.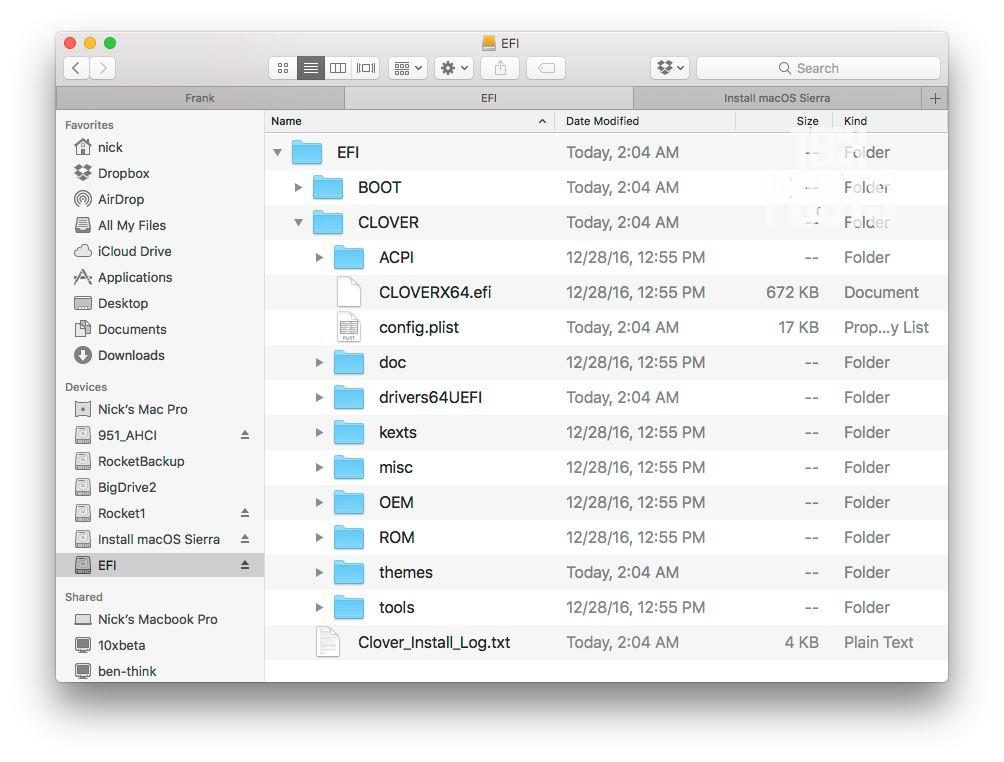
Next, open Kext Utility or any other Kext installer and Install the two kexts from the folder which you downloaded earlier. If you are using Kext Utility, just drag and drop. It will automatically install the kexts to System>Library>Extensions folder and Rebuild system cache. If you are using Kext Wizard, make sure to rebuild system cache after installing Kexts.
Once it’s done. Close all apps and folders and simply Restart your System. If you see any error or kernel panic, please report me on the Techposts Facebook Fan page. Make sure to mention your System configuration and a screenshot of the error. If everything works well, you will see that your Hackintosh system is now using full IntelHD graphics acceleration and your display size with resolution will be automatically detected.
Watch Video Tutorial to Fix IntelHD Graphics
https://youtu.be/ZrdOB-cT_k4
Conclusion
So from now, you can use any MacOS app, including the Final Cut Pro X for video editing, Xcode, After Effects or any app or game. In my next upcoming video, I will show you how you can fix the Trackpad features, Battery management, and Audio. For WiFi, you can either buy an external USB wifi dongle, like I did or a Broadcomm MacOS compatible WiFi Card. The links for WiFi Dongle and the Broadcom Chip is given in the description.
Subscribe now for more upcoming update and HowToGuides related to Hackintosh and other software Tutorials. If you found this guide useful and if it worked for you give this video a big thumbs up and share this video as much as possible.