Did you know that you could install Android on PC and Laptops just like any other operating system? Today in this post, I will explain how you can install Android OS on a Windows 64-bit or 32-bit PC and Laptop in just a few minutes. That too without damaging the existing Windows installation.
In fact, after installing Android X86 OS on your PC or Laptop, you will be able to dual boot between Android and Windows OS. The system will ask you to choose the OS you wish to boot when you power on your Android PC or the Laptop.
In one of our previous tutorials, we showed you How to install Android KitKat with PlayStore on any PC or Mac (Dual Boot with Linux, Mac or Windows). So let’s begin and install Android 5.0.2 Lollipop on any Windows PC using Android x86 Installer.
How to Install Android OS using Android Installer
There were several issues reported by users while installation of Android OS using USB installer. Bootmanager is Missing, error 16, hangs at Android boot LOGO, etc. are some instances. Also, the internal storage was limited to 2GB. But if we install using Android x86 Installer Setup for Windows, we can create internal storage from 2GB (Min.) to 32GB (Max.).
But the best thing about the Android x86 installer is that you don’t need any USB Drive for installation or install Grub bootloader which many do not like as it replaces the Windows boot manager. The Android X86 installer makes the Android OS installation seamless and easy for a novice as well
This Installer will let you install Android x86 on your PC like you install any other app or software, for example, installing VLC Media Player. Yes, installing Android OS is much easier now.
Things you require for installation of Android OS:
- Download Android OS ISO: You can download following Android OS ISO
- Android Donut 1.6
- Android 2.0, 2.1 Eclair
- Android 2.2 Froyo
- Android 2.3, 2.4 Gingerbread
- Android 3.0, 3.1, 3.2 HoneyComb
- Android 4.0 Ice Cream Sandwich
- Android 4.1 Jelly Bean
- Android 4.4 KitKat
- Android 5 Lollipop
- Android 6 Marshmallow
- Android 7 Nougat
- Android 8 Oreo
- Android 9 Pie
- Android Q
- Windows Boot Manager/NTLDR ( it is the default Boot Manager, no need if you have windows installed)
- Windows 2000/XP/Vista/7/8 32-bit or 64-bit
- .NET Framework 4
- Androidx86 Installer (Download from Here).
Installing Android-x86 5.0.2 KitKat on Windows/Linux PC:
- Launch the Androidx86 Installer.
- Select the downloaded Android x86 5.0.2 ISO file
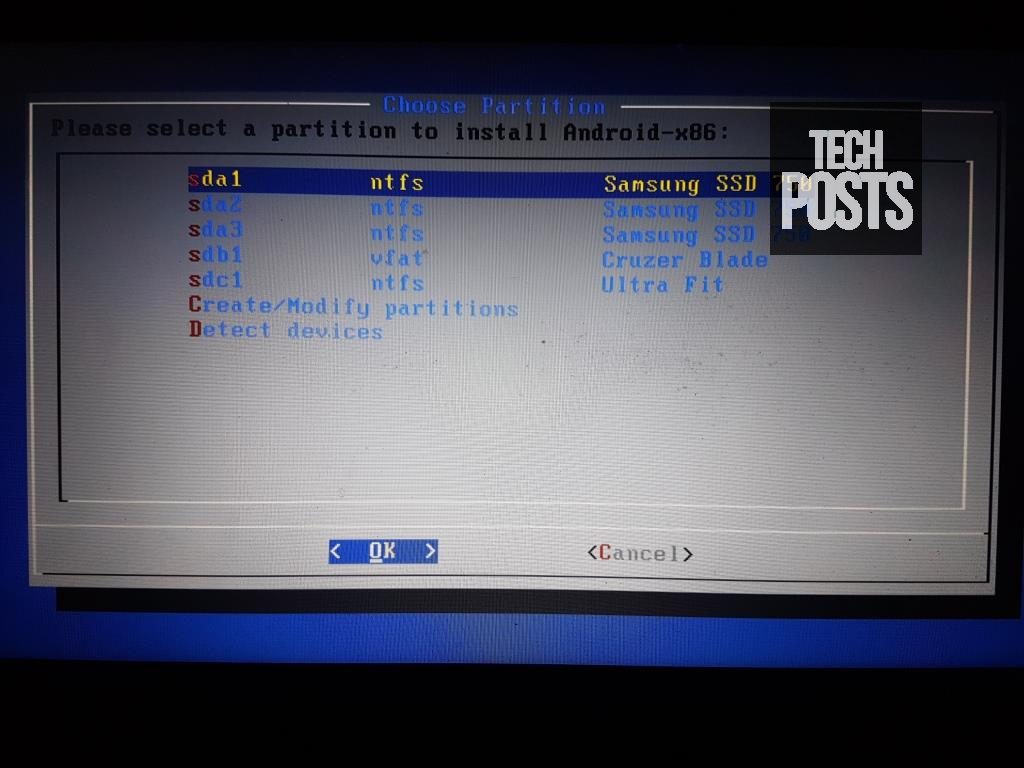
- Select the partition where Android will be installed.
- Select “User Data Max. Size” i.e. Internal Space

- Click Install and wait about 5 min.
- Note: Installation time depends on “User Data Max. Size” may be more than 10min with 32GB
How to Uninstall Android 4.4.2 KitKat from Windows PC:
- Start->Control Panel -> Programs and Features
- Select Android and click on “Uninstall”
- Just press any key and wait until screen disappear
Below is a Video Guide showing the installation of Android 4.4.2 KitKat, follow the same steps as shown in the following video, just change the Android x86 ISO file from Android 4.4.2 KitKat to Android 5.0.2 Lollipop.
Also, Android x86 Installer ensures no risk to Damage HDD Partitions, Boot Data or User Data. It is like WUBI (Ubuntu installer) but it is NOT a WUBI Based Installer. You can uninstall it anytime as if you uninstall a Program in Windows.
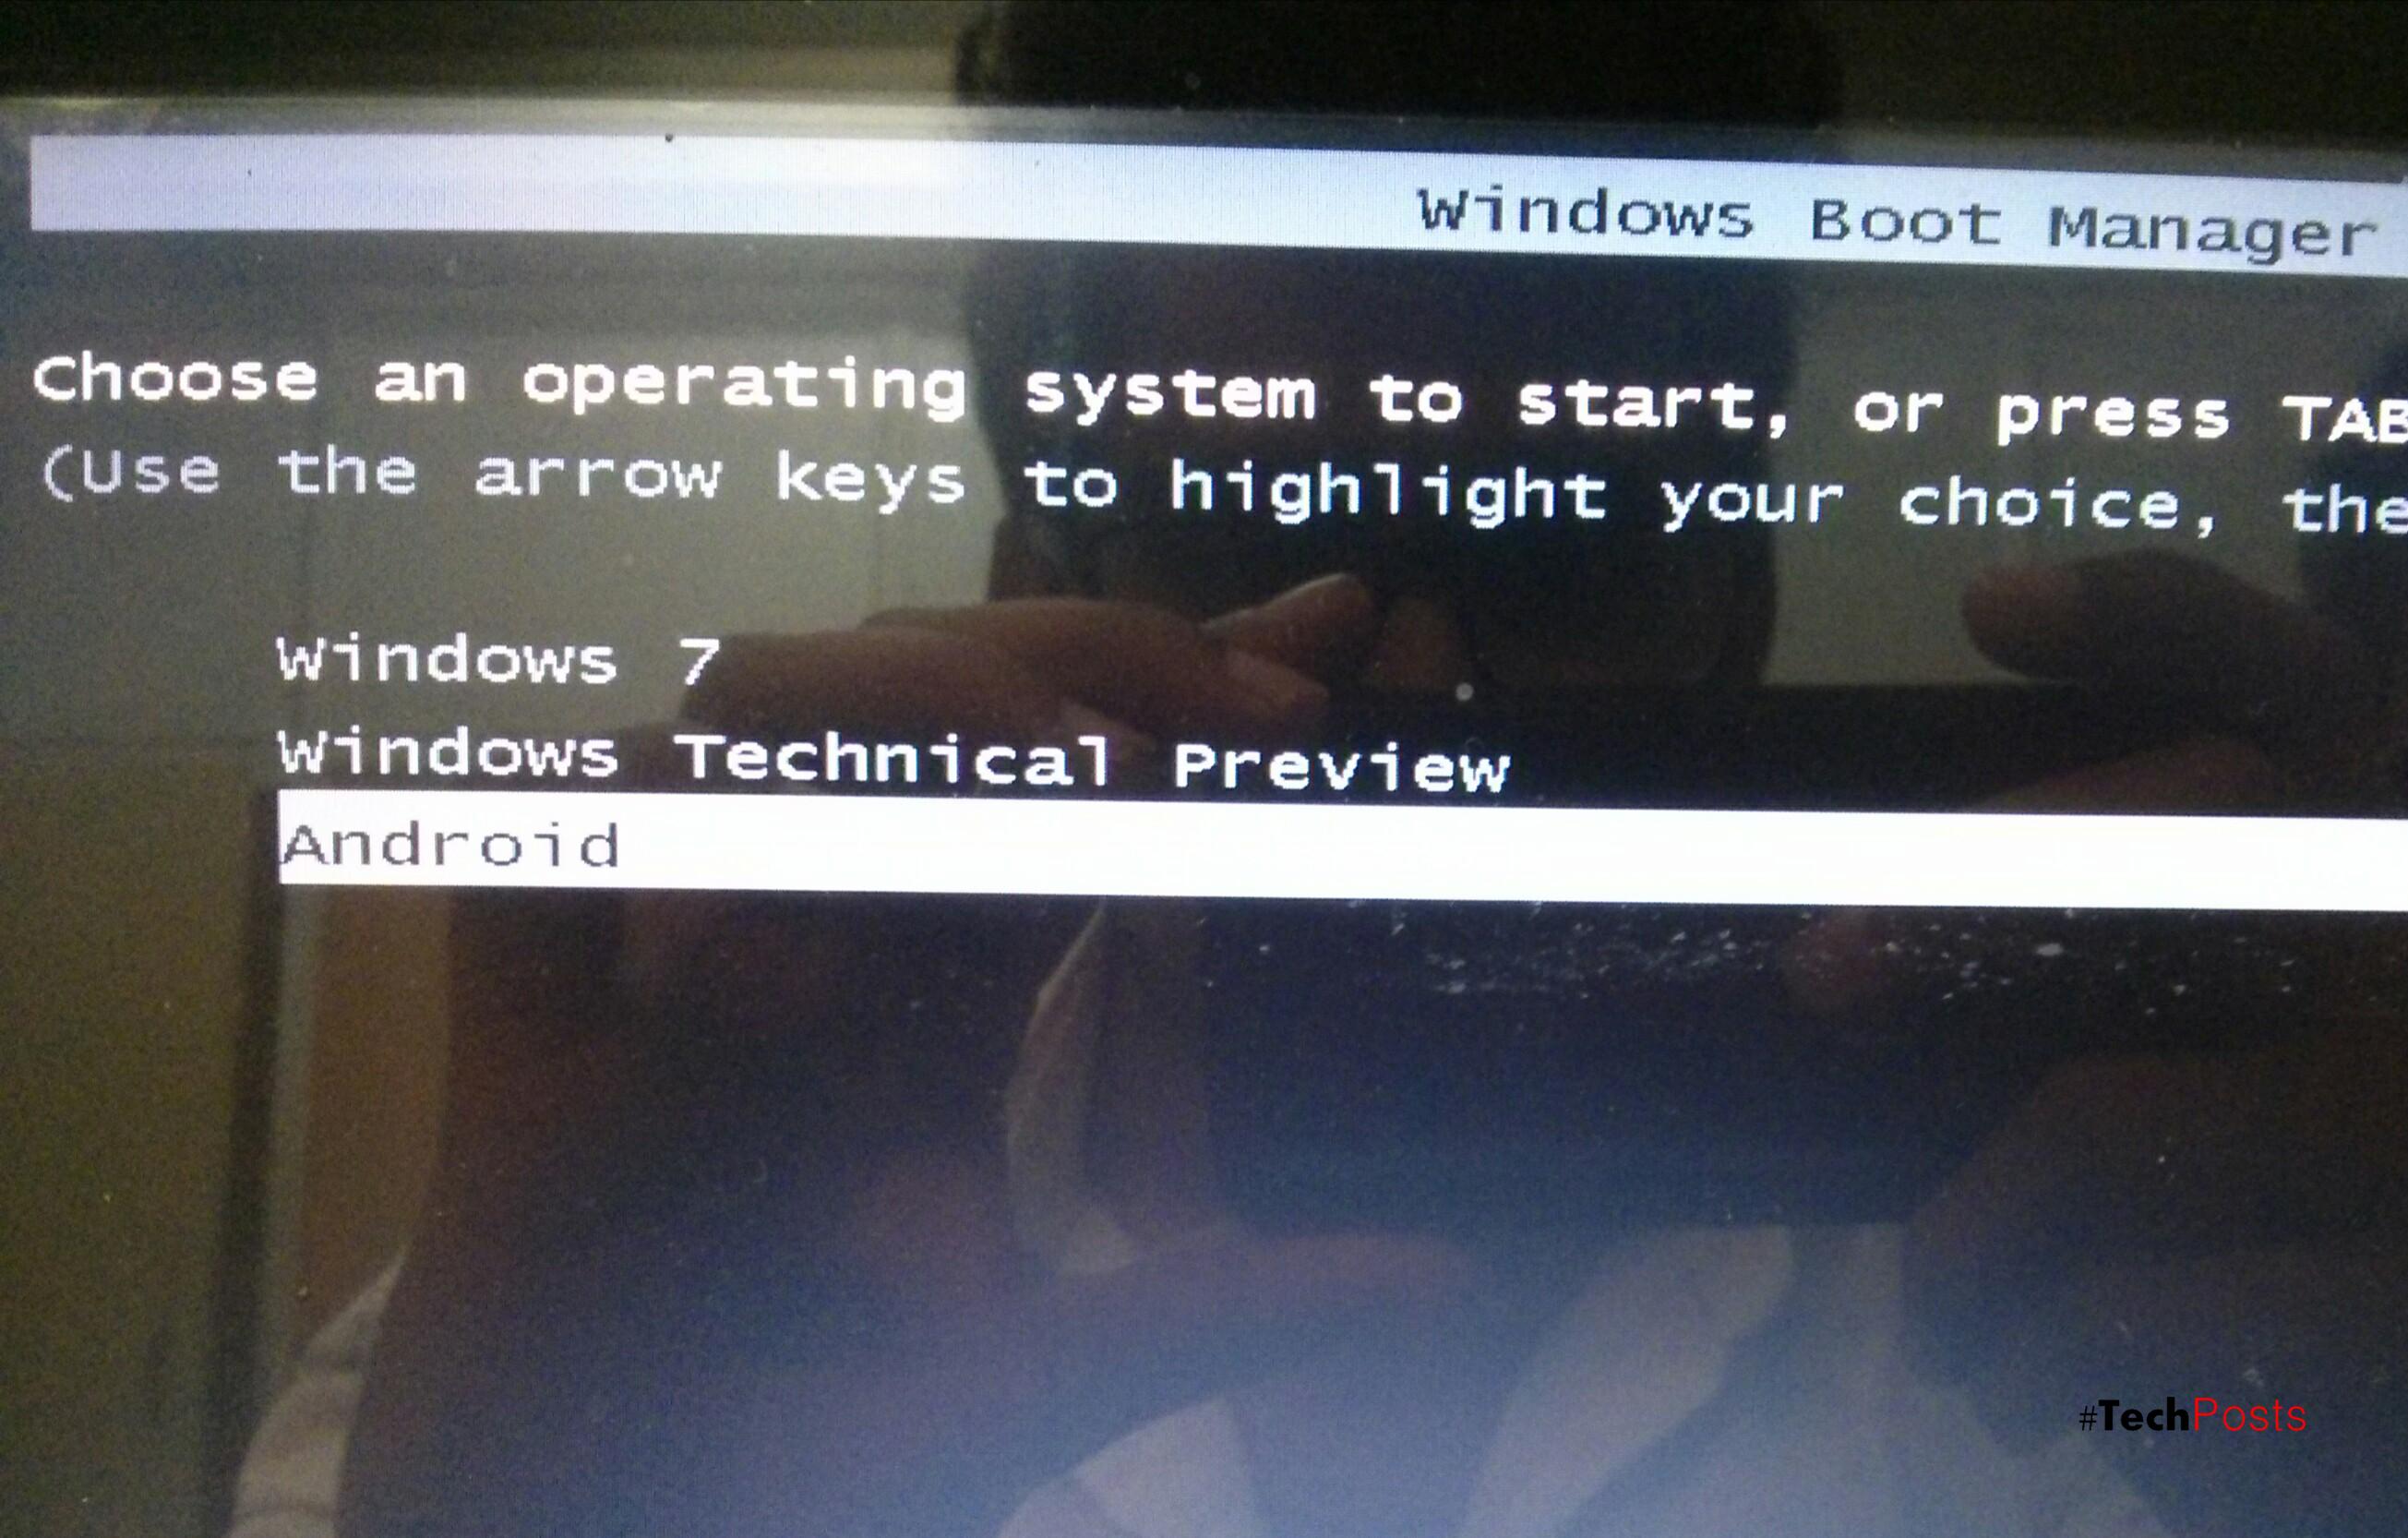
After installation, you will get an option on boot to select Windows or Android. (See the Screenshot below)
Know Issues:
- Not Work if GRUB is the default bootloader
- EFI Not Supported
Change Log:
- Version 1.2:
– Support Windows 2000/XP [waiting for Users Reports]
– Logging Installation Process - Version 1.1: automatically detect if VGA Card require xforcevesa nomodeset, no more android black screen
- Version 1.0: initial version
Some Notes:
- you can install Android on “USB Disk” or “SD Card”
- you can install Android on Windows partition (Drive C: ), no problems at all
Windows 8 Devices Note:
- Most of Windows 8 Devices which use UEFI and GPT Disk is not supported till Now.
Download Android x86 Installer for Windows
Check out FAQs here :
- How to change Android Screen DPI?
- I’m waiting too much time and installation still not completed, what’s going on?
- Installer window not responding?
- Can it be installed with Windows 7 and Ubuntu (installed with WUBI)?
- What about UEFI Devices?
Let us know what you think and if you face any problem in installation or any question related to Android x86 in the comments below, and for more Android, iOS, Windows, Mac and Linux tips and tricks, Connect with us to stay updated for more on Facebook, Google+, and Twitter.
Before You Go….
Just wanted to let you know that We’ve launched YouTube Channel where we upload awesome video content. Make sure you hit the subscribe button to stay up to date with the new videos we upload every week. Also Subscribe us for more How To Guides and Reviews…!!! @http://youtube.com/checknma for more How to Guides. Enjoy..!!!


45 Comments
Leave a Reply