Sony came up with a new framework for theming the interface of their Xperia called RRO (Runtime Resource Overlay). Sony then contributed this framework to Android’s main code base, and Google has since taken over the development of RRO as a way for manufacturers to implement themes in their skinned versions of Android.
Hence, Android 6.0 Marshmallow has came equipped with the fully-functional RRO which means manufacturer can theme their device according to their liking. Good news is, same goes for us, the end users.

A Team of Developers kept a close eye on this and created an app called Layers that allows users with root access to tap into Marshmallow’s built-in “theme engine” (RRO). The app and theme installation is incredibly simple, and there’s already a massive library of themes which you can download from Play Store.With this you can now completely theme Android 6.0 and all of your apps according to your liking.
Another awesome feature of Layers is that you can combine multiple themes to create the perfect overall look. Just choose the elements that you’d like to change when applying the first theme, then reboot and apply different elements from a second theme, and so on.
Requirements
Any rooted Android Device with Stock Android 6.0 Marshmallow (eg. Nexus, Android One etc.).
Theming Every Aspect of Your Android Device:
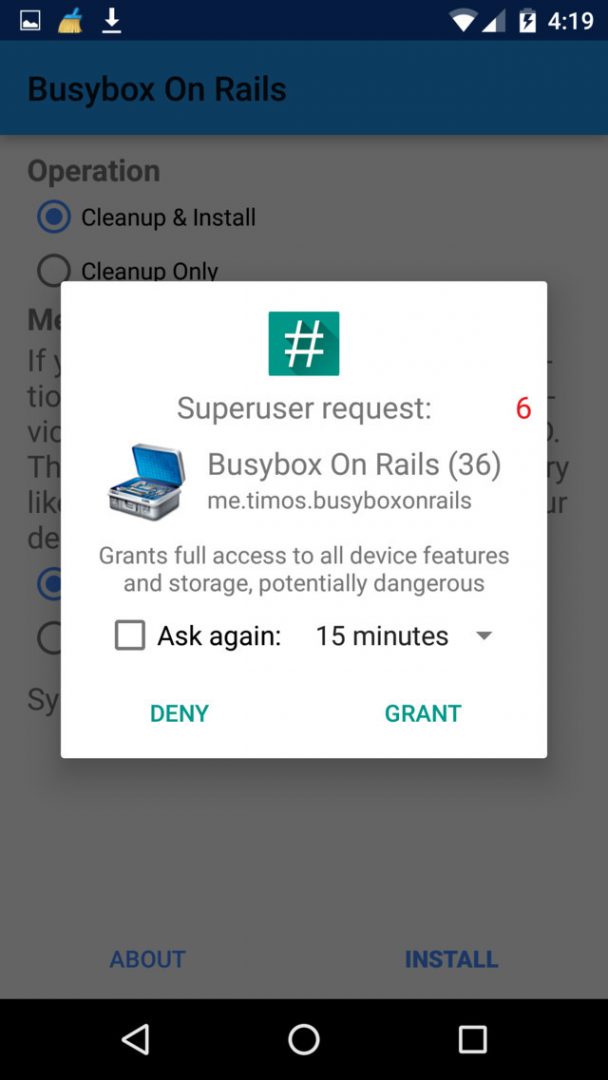
- If you have rooted Android 6.0 Marshmallow running device, then go ahead, open the Play Store and install an app called “Busybox on Rails” .

Busybox On Rails – Android Apps on Google Play -Techposts - After Installing, just open the app and grant “Superuser” access and hit the install Button at the bottom right corner.

Grant Superuser Access to app - Once you have done that, you are ready to install the “Layers“ application to start themeing your device.
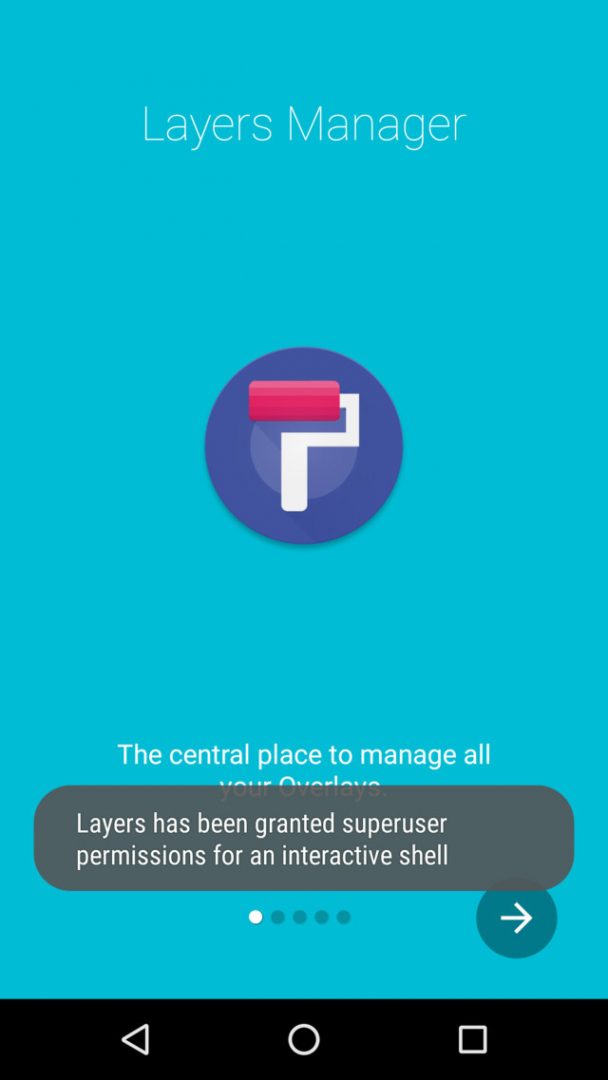
- To install “Layers”, head to Playstore and install a free app called “Layers Manager” . Once installed, open the app and grant “Superuser” access.
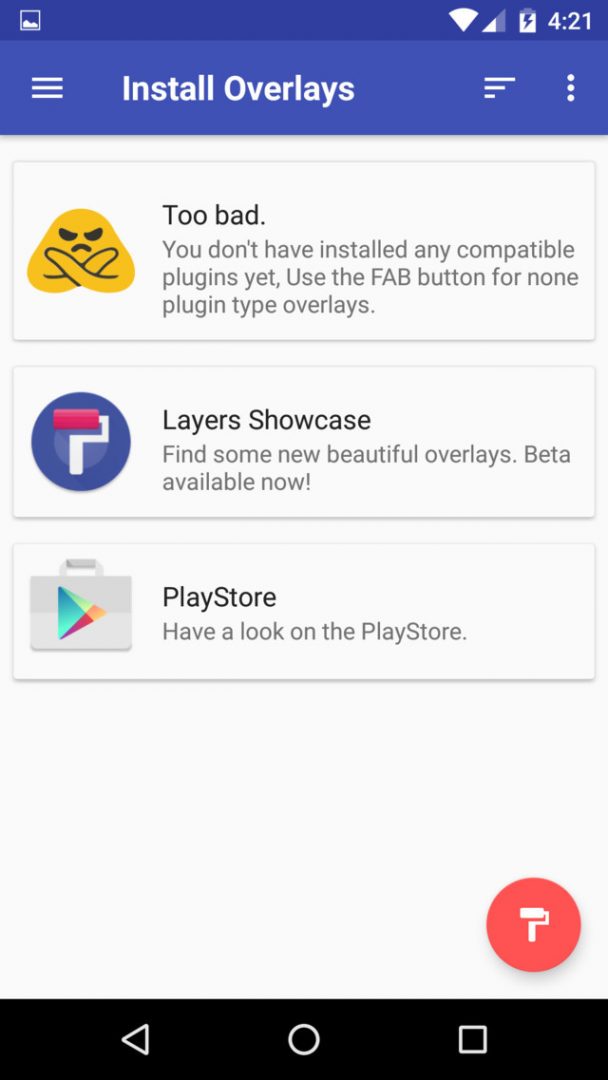
Install Layers App from PlayStore - Now the only thing left is installing the theme. So head to the main menu of Layers Manager, Tap on PlayStore icon(link) and it will open Playstore with listing of all the Layer compatible themes which you can install like an app.
Layers Manager App - Once you have installed a theme, go back to main menu and pull down to refresh and you will see installed theme.
- Just select the theme you like and apply. Also you can scroll down to see all the thing it is capable of theming. You can also select each of these elements individually if you want a theme certain aspects. But if you want to apply the entire theme, tap the “Select all overlays” button at the top of the menu.
Layer Main Menu Areas Manager App - Once you’ve selected the interface elements that you’d like to theme, tap the floating action button in the bottom-right corner of the screen, then press “OK” when prompted to apply the theme. After that, you’ll see a message at the bottom of the screen that says “Overlays installed”. Tap “Reboot” on this message to finalize your work.

Art – Layers Theme – Android Apps on Google Play -Techposts
Conclusion:
Please note that some Layers/RRO themes aren’t fully compatible with Marshmallow just yet, but these should be fixed with updates soon. Nonetheless, many Layers themes can change the appearance of your device’s system menus, popups, and even third-party apps, so with this app you can actually give your entire device a brand new look. For official thread, visit XDA-Developers.
Hope you enjoyed the the tutorial on theming Every aspect of Android 6.0 Marshmallow with Layers. If you have any question or trouble installing, please leave your comments below.
Don’t forget to subscribe us for more such Guides, Tech Updates and much more. Also, we would appreciate it if you share this post or subscribe to our Newsletter and like or follow us on Twitter, facebook or Google+.