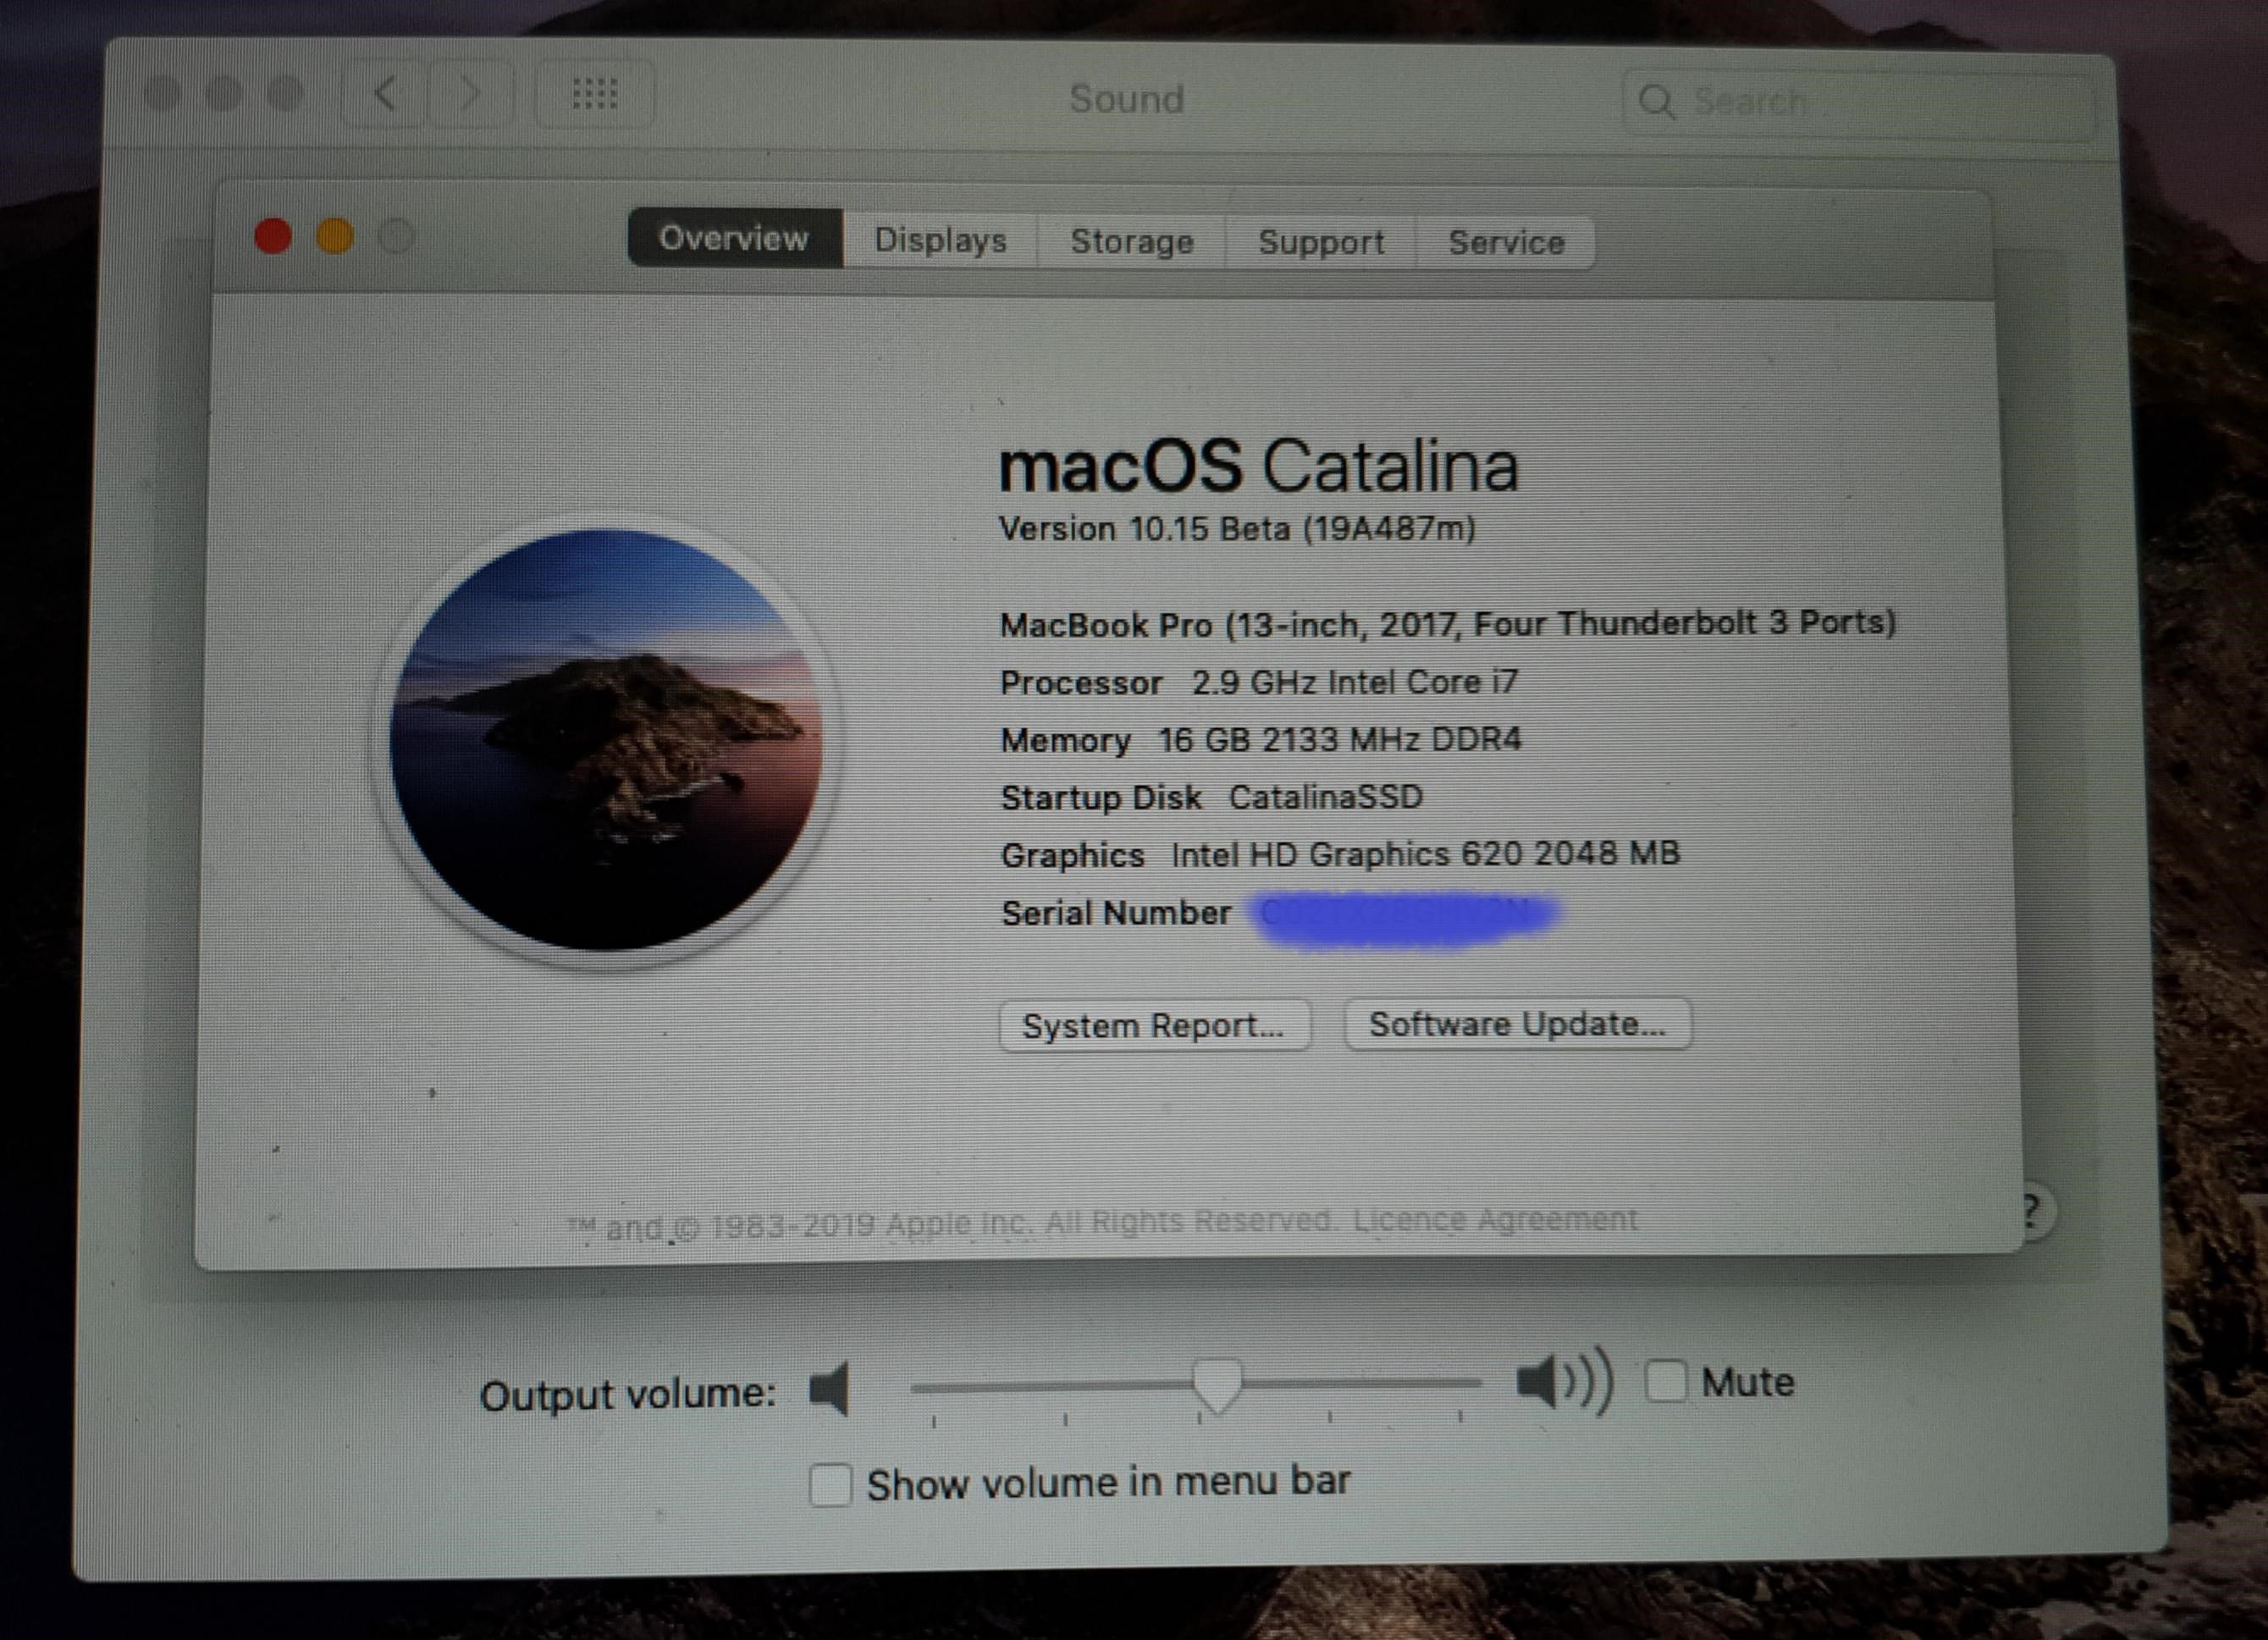
Finally, macOS Catalina 10.15 Public Beta is out and I can’t stay calm! After a bit of work, I was able to install macOS Catalina on an external drive that boots and runs on my Dell 7560 laptop. And in this post, I will show you how to install macOS Catalina 10.15 on an external drive.
Since the macOS Catalina is in first public beta, you don’t want it to be your main OS unless you are a developer. By installing macOS Catalina on an external drive, you can experience the new macOS 10.15 on your system without disrupting the existing macOS High Sierra or Mojave.
If you own a Dell or any other brand laptop powered by 7th gen processors, this guide is for you. The steps are universal for all PC and laptops including Macs. The only thing changes are the files in the EFI partition (not required for Mac). So let us go ahead and begin the macOS Catalina installation on an external drive,
Before You Begin
If it’s your first attempt at macOS installation, stop right there. This guide isn’t for you. Read macOS Mojave or High Sierra installation guides. Once you learned the basics and install either Mojave or High Sierra, head to next steps.
Download macOS Catalina
If you don’t have a MacBook or Hackintosh, build one. Follow this guide to build a Mojave or High Sierra Hackintosh.

- Download Beta Utility and run it

- This will begin downloading macOS Catalina in Mojave systems

- Download the Catalina update
Prepare USB Thumb Drive
- Connect 8GB USB 3.0 drive
- Open Disk Utility, choose USB drive from the left pane and click ‘Erase’
- Choose Mac OS Extended (Journaled) and GUID Partition Map and click ‘Erase’

The USB drive is now ready to become a macOS Catalina Installer.
Create macOS Catalina Installer Media
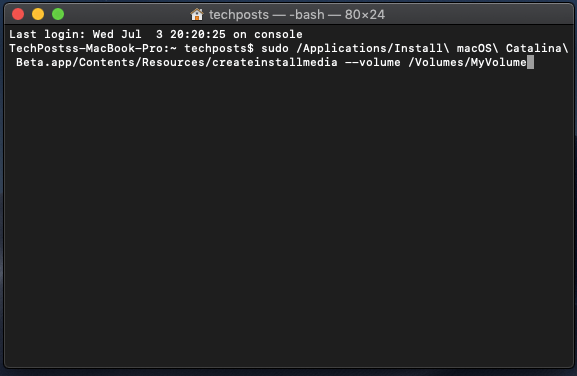
- Open new Terminal window and paste the following command. Replace MyVolume with your USB drive volume name
sudo /Applications/Install\ macOS\ Catalina\ Beta.app/Contents/Resources/createinstallmedia --volume /Volumes/MyVolume
- Press the Enter key
- Now download and run EFI Mounter app
- Select USB disk number and double click to access the EFI partition
- Download, extract and paste this EFI folder in the ESP partition
- Edit config.plist if your system isn’t Dell 7560/7460/7X72 series
- Turn off system
Configure BIOS
- Turn on the system and access the BIOS by pressing the F2 key as it reboots
- Disable secure boot
- Disable PowerShare and VT-D under Virtualization
- Save and exit
Boot from macOS Catalina Installer Media
- If you get the boot priority to USB, there’s nothing to do. Just turn on and let it boot.
- If you haven’t, press F12 continuously as the system starts to access the boot option menu
- Select the USB media and press the Enter key
- Now choose Install macOS Catalina from MacOS Catalina Installer
- Let it boot and load the installer
Install macOS Catalina on PC or Laptop
- Agree to the terms and open Disk Utility from above
- Connect the empty external hard drive or SSD
- Format the drive to APFS with GUID Partition table. Please make sure it doesn’t contain any data as it will be permanently lost
- Click ‘Erase’ and then exit Disk Utility
- Now Select the formatted media and click Install after agreeing upon the Terms and conditions
- The system will restart one or two times, make sure you select the right drive from Clover bootloader menu to boot macOS Catalina after installation

- Then you have to set up your system for the first time
Post macOS Catalina Installation Steps
Once you are logged in, check what’s working, and fix what not. I have all the guides on my blog, some need update, but I will update them soon. So use them to fix issues such as Trackpad not working, fix audio/mic, and IntelHD graphics acceleration, etc.
If you are facing error during installation, reach out to me via comments down below. I will respond to each comment and will try to help and resolve the error at the earliest.
Conclusion
Installing macOS Catalina 10.15 or earlier versions isn’t an easy task. Unlike Windows, macOS is hardware specific operating system and does not work with non-Apple hardware. Fortunately, Apple still uses Intel chips in their machines, which enables power users to port the macOS for their Intel-powered Windows machines.
This may sound easy but actually is a cumbersome and time-consuming process. There are several steps involved and it takes several hours, sometimes days, and continuous attempts to install macOS on a PC. Many times, it doesn’t work at all for some.
For help, comment down below and I will respond to each query.
Awesome, keep up the good work mate. I am following your blog for my Dell 7560 Hackintosh guides since Sierra. Now experienced the Catalina and it’s perfect. Everything works my Dell Hackintosh.
Perfect. Stay tuned for the official Catalina update and more guides on macOS Catalina Hackintosh.