We’ve talked previously about How to install Android 5.0.2 on Computer/Laptops/Netbook and a tutorial about Installation of Android 4.4 KitKat along with your Windows 8 or Windows 7 OS. Windows laptop or PC users are no longer restricted to using one-dimensional software, Whether you want to play with Google’s mobile operating system or experiment with new open source software such as Android 5.1 Lollipop or give new life to an otherwise discarded device, Android-x86 gives everyone a way to install Android on Intel netbooks or Laptops based on x86 (32-bit) or x64(64-bit) processors.

Installing Android 5.1 Lollipop on PC with Windows and Linux
Techposts.org reminds its readers that it will not be held responsible for any damage to system during or after Android-x86 software installation. Users are advised to proceed at their own risk.
But as i say always, it’s not terribly complicated to install, especially if you’ve installed some form of Linux OS in the past. Let’s walk through the process, then briefly explore Android on the netbook. We will also give you detailed instruction via Video tutorial which you can find on our Youtube Channel.
Prerequisites
- USB flash drive or a bootable CD/DVD drive
- Ensure there is sufficiently free hard disk space on the computer/laptop on which you want to install Android-x86 OS:
- Android x86 5.1 Lollipop ISO File. Download it from Here
- Rufus App for Windows to create bootable USB thumb drive.
Also Read: How to Dual Boot Remix OS with Windows OS – UEFI / Legacy Support
Steps to Install Android 4.4 KitKat on Your PC
Step 1: Download the Android 5.1 Lollipop-x86 ISO or any stable Android x86 ISO (eg. 4.0, 4.3 or 4.4.2) for your computer hardware.
Step 2: By using Rufus Tool, Make a bootable USB flash drive using the ISO image file that you downloaded.
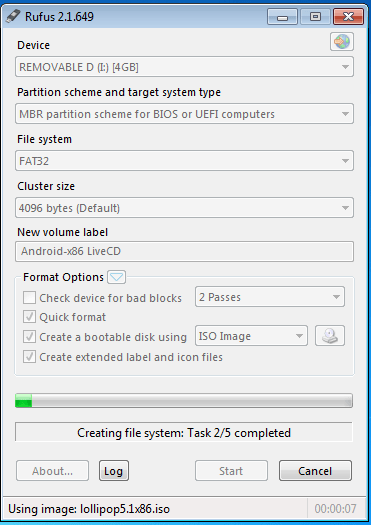
Creating Androidx86 Bootable USB Drive using Rufus App
Must See :
- How to Install Android x86 5.0.2 on USB Drive
- How to install Android 5.0.2 Lollipop on PC with Androidx86 Installer
Select Android from the Drop Down menu, Then Browse the Android x86 ISO file and then select the USB Thumb Drive and Hit Create Button.
Step 3: After that, Restart your PC or Laptop via USB flash drive as the source. (Make USB to boot first and before CD/DVD ROM under your system’s BIOS settings)
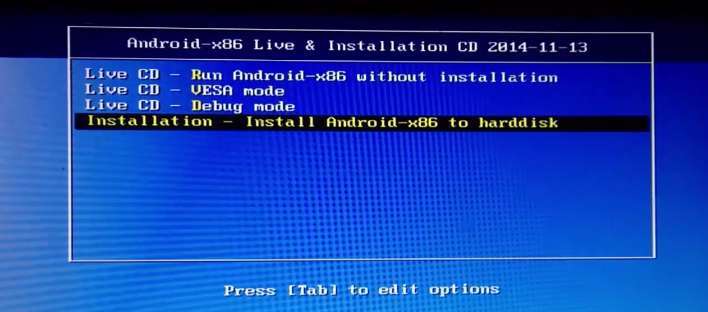
Step 4: Now, When the menu appears, just select Install Android x86 to hard disk. You can also Run it As a Live Cd which means that if any changes made, they will not be saved. But if you install it then any changes that you make will be saved next time you boot android.
Must See: One Click Android x86 5.1 Lollipop OS Installation on Windows PC – Dual Boot PC
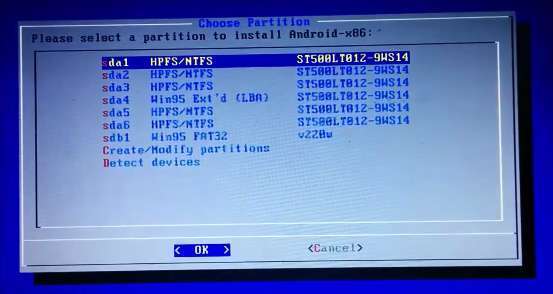
Step 5: Select your appropriate hard disk partition to install Android x86 i.e. C: or D: or you can install on any new partition.
Step 6: Now, You will get a few prompts messages pertaining to installation of GRUB Bootloader. Make sure to allow it.

Now select yes to create a Disk Image file which is used by Android system for storage of data and apps
Step 7: Now, another prompt message will ask you to make system /r/w. Hit Yes on this as well, especially if you’d like to modify your Android x86 installation later.
Step 8: After that, you will get another prompt to install virtual SD card. Use 2048 MB for space, as that’s the maximum supported.
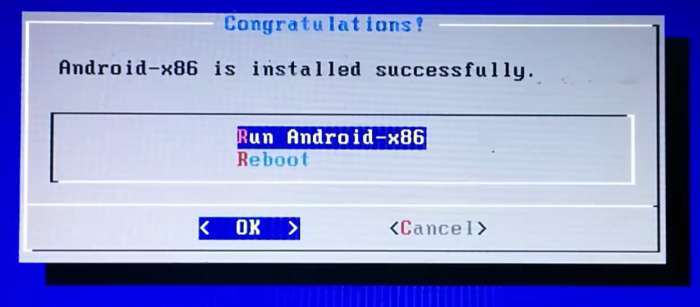
Step 9: Now, You can Restart your Windows PC / Laptops. After Reboot, You can select to either boot to Android or Windows.

Android 5.1 installed PC Screenshot
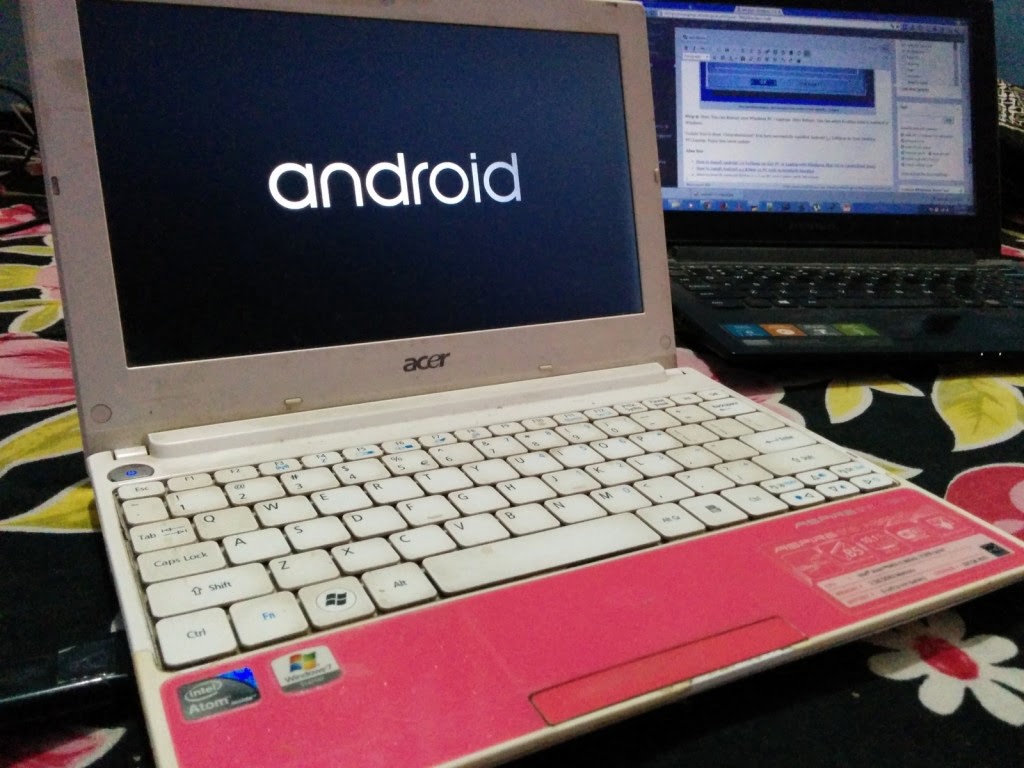
A Windows Laptop installed with Android x86 5.1 Lollipop OS
Watch this Video Guide if you are not able to understand the instructions or still confused :
Also See: How to Install Android 6.0 Marshmallow on A External Hard Disk Drive
Voilah! You’re done. Congratulations!! You have successfully installed Android 5.1 Lollipop on Your Desktop PC/Laptop. Enjoy this latest update.
Also See :
- How to Install Android 5.0 Lollipop on Any PC or Laptop with Windows, Mac OS or Linux (Dual Boot)
- How to install Android 4.4 Kitkat on PC with Androidx86 Installer
- How to Install Android Kitkat 4.4.2 on PC and Laptop with Windows
- How To Install Android 4.4.2 KitKat on Computer or Laptop
- How To Install Android 4.3 Jelly Bean on PC and Laptops
If you have any questions or feedback, please use comment box below. If you face any problem during Installation, please contact us, and we’ll do our best to solve your queries.
BEFORE YOU GO…
Just wanted to let you know that We’ve launched YouTube Channel where we upload awesome video content. Make sure you hit the subscribe button to stay up to date with the new videos we upload every week. Also Subscribe us for more How To Guides and Reviews…!!! @http://youtube.com/checknma for more How to Guides. Enjoy..!!!


