
Table of Contents
Have you ever had an error in Windows 10 saying “Restart to Repair Drive”? Probably you must have, just like a thousand other folks. This is a very common situation that arises in Windows 10 and there is absolutely nothing to fret too much about. This happens mostly when there is either a hard drive issue or a failed update. You are simply supposed to repair it and everything will work like nothing ever happened to your personal computer.
Here are a few methods that can help you resolve this error and get you back on track very soon:
Method 1: Restart Your PC
The first and the foremost step that could solve almost any errors in your personal computer is restarting your PC. This would probably solve your “Restart to Repair Drive” errors as well. Restarting the computer shuts down unnecessary processes that run in the background which serve no purpose. Also, this frees up your device’s resources.

If restraining your PC does not solve the issue, please follow the other methods given below.
Method 2: Repair System Using a Repair Tool
Using repair tools such as Restoro PC Repair Tool will help in repairing your computer and will probably fix most of the common errors caused in Windows 10. This software also helps in protecting you from various malware attacks, file loss, and hardware failure. You can fix your PC issues and resolve the errors by following these simple steps:
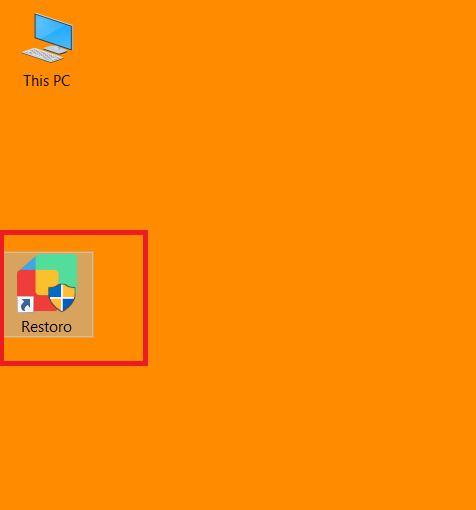
- Download and install a repair tool. We recommend you install Restoro PC Repair Tool from here.
- Launch the application.
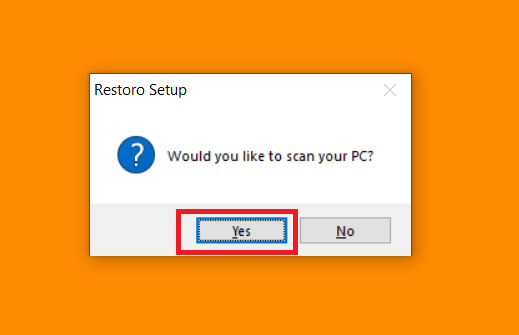
- You will be asked by a prompt whether you would like to scan your PC for errors or not. Click on the Yes button. This will enable the software to search for all the issues in your PC that could be causing the errors.
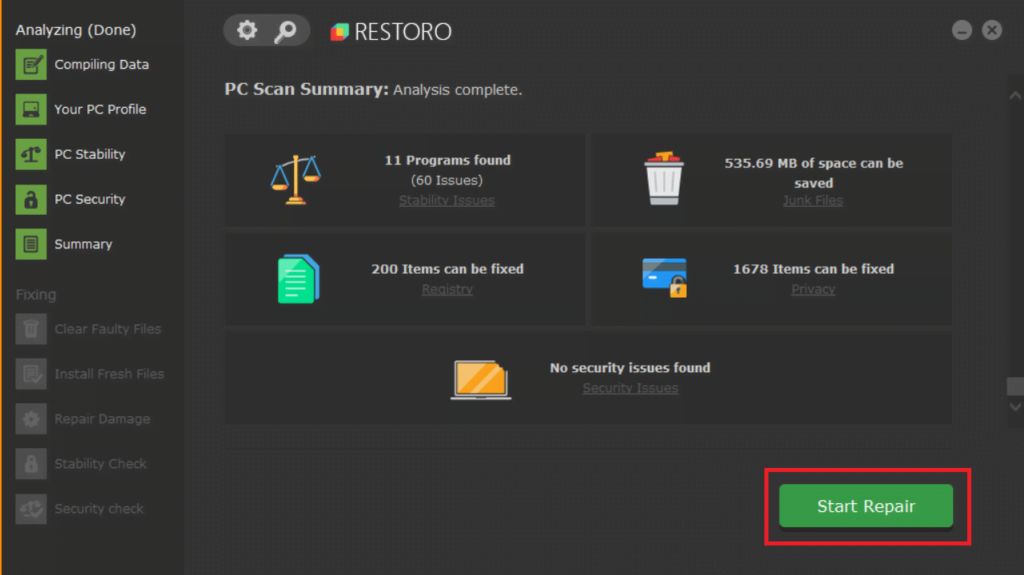
- Once done, kindly click on the Start Repair button to fix the caught errors and issues.
Method 3: Run CHKDSK
The name of the method is very confusing and might sound a little intimidating to some people. If you are one of them, we assure you there is nothing too complicated that you cannot understand. CHKDSK might be a solution to your PC’s problem and that could be because “Restart to Repair Drive” errors are related to the disks in Windows 10.
To perform CHKDSK, follow these instructions:
- Go to Start by either pressing the Windows key or clicking on the Windows icon on the bottom-left corner of the screen.
- Type cmd. You will see an application called Command Prompt. Right-click on it and select Run as administrator.
- Type CHKDSK C: /F. Press Enter.
- Type CHKDSK C: /R. Hit Enter.
- This will initiate the CHKDSK process. Once it gets completed, you must restart your PC to finish the step.
If you are just like me and the sight of command prompt scares the hell out of you, we have an alternative method for you that will start the CHKDSK scan as well. Simply follow these steps.
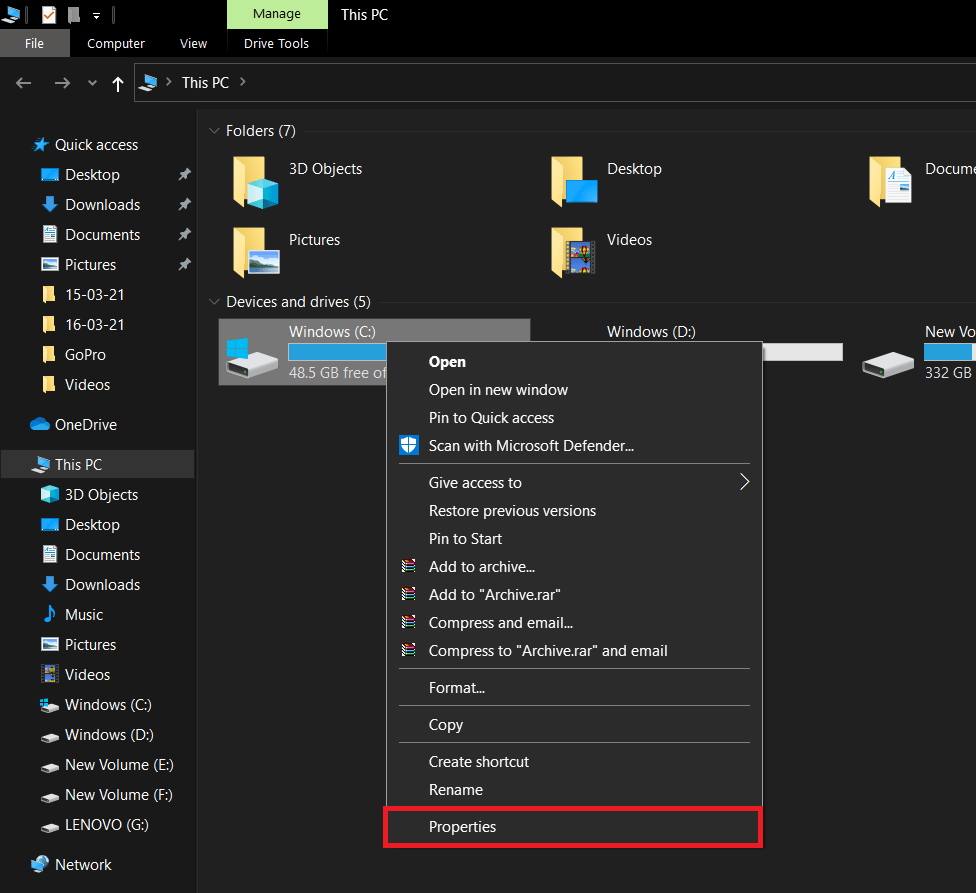
- Open This PC on your computer.

- Right-click on the C: drive.
- From the menu, select Properties.
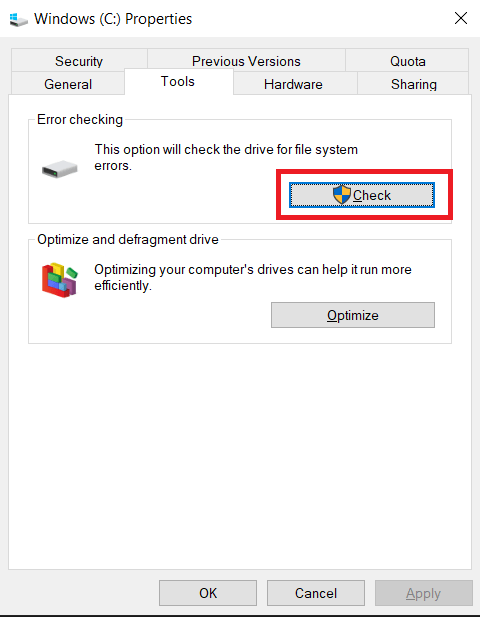
- Select the Tools tab.

- Click on the Check button.
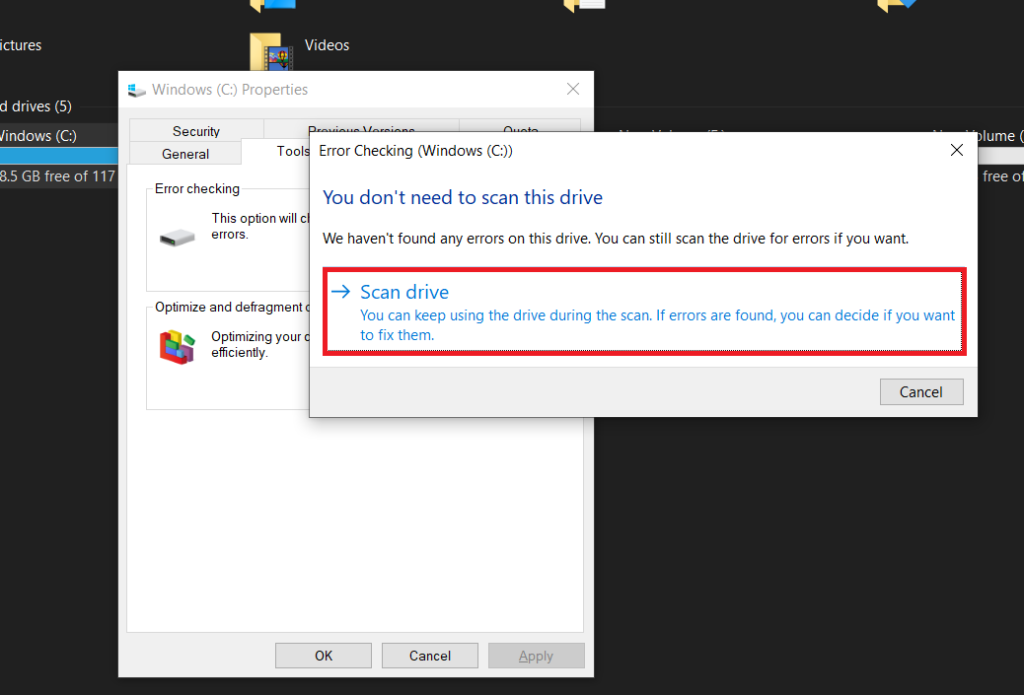
- The final step would be to click on the Scan Drive button.
Method 4: Run an SFC Scan
One of the methods to fix the “Restart to Repair Drive” errors is to run an SFC scan. Don’t worry, just like the above steps, we will guide you through this process as well.
Follow these steps to run an SFC scan:
- Press the Windows key and while holding it, press the Q key as well (Windows + Q).
- Type cmd.
- You will now see the Command Prompt application. Right-click on it and select Run as administrator.
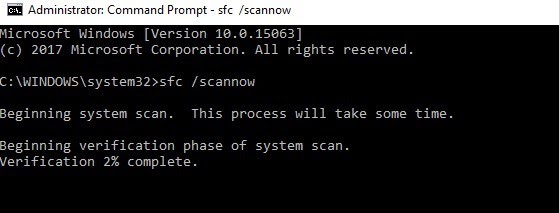
- A cmd screen will open. Type sfc /scannow.
- Hit the Enter key.
- The scan process will start automatically after this. The only thing you are supposed to do next is to wait and have patience.
Method 5: Run System Restore
Restoring your PC to the point before it experienced the “Restart to Repair Drive” errors will solve all the issues. There is a way to restore your personal computer but before that, you must know that it should be done in the Safe Mode only.
Starting your PC in Safe Mode
- Click on the Windows key.
- Click on the Power option.
- While holding the shift key, click on Restart.
- Navigate to Troubleshoot > Advanced Options.
- Under Advanced Options, select Start-up Settings.
- Click on Restart.
- You will see various boot options on this screen. Choose Safe Mode.
Running System Restore in Safe Mode
Once you start your PC in the Safe Mode, follow these instructions to start the system restore process:
- Click on the Start button.
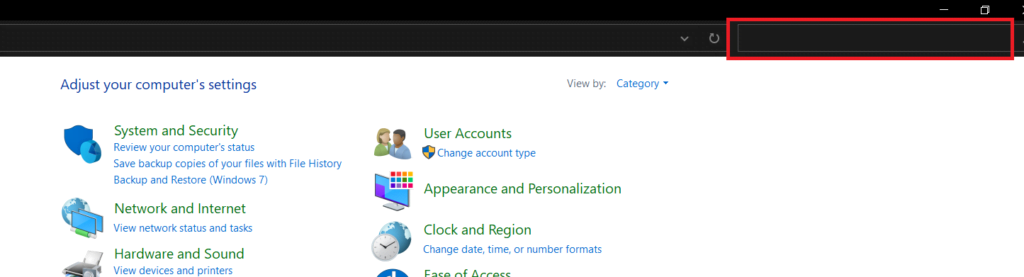
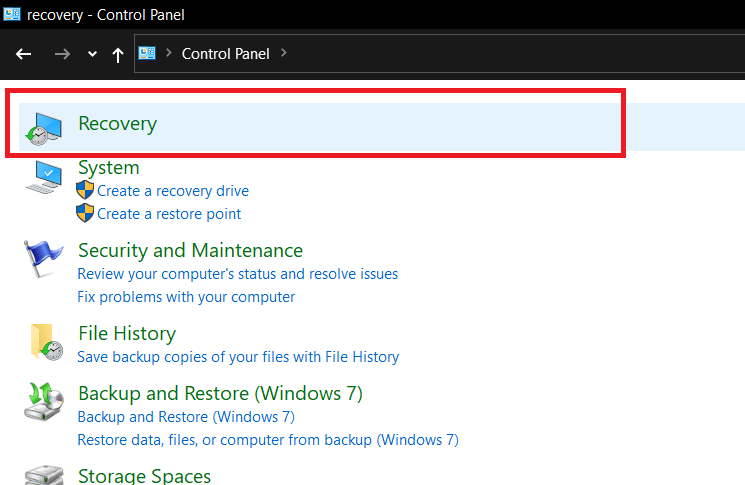
- Type and open Control Panel.
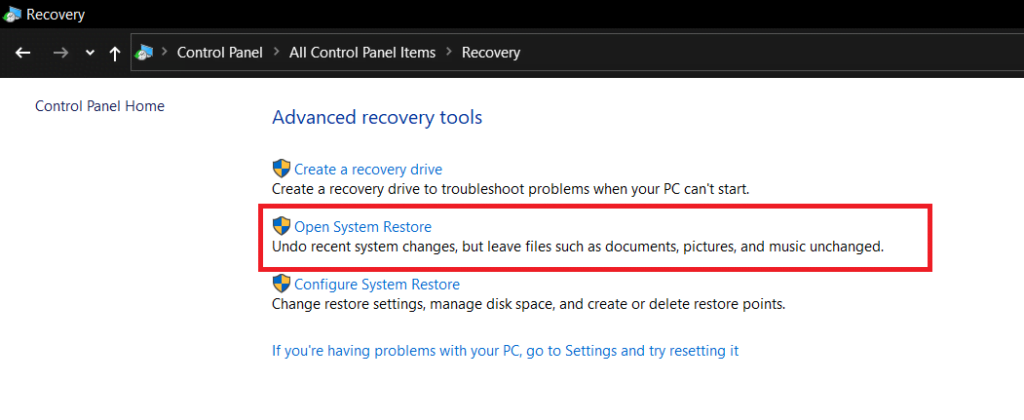
- Type Recovery in the search bar at the top-right corner of the screen.
- Click on Open System Restore.
- Follow the instructions and proceed accordingly.
This will have restored your system to the most recent restore point. This will definitely solve the errors caused in your system.