
Table of Contents
While logging in to your computer, you need to type a password. Sometimes, remembering this strong and difficult password can be irritating. With the advancement of technology, logging into your system has never been more secure and convenient.
Windows 10 and Windows 11 have a built-in feature that helps in unlocking the device using a facial or fingerprint. This built-in Hello feature has been in Windows for years providing different ways to trench passwords in exchange for more secure authentication like PIN, facial recognition, and fingerprint.
But before enabling Windows Hello you need to be sure to have special hardware. For instance, fingerprint authentication can be done with a fingerprint reader whereas a Realsense camera is required for facial recognition.
This guide will walk you through the process of setting up and using facial recognition or fingerprint login on your Windows devices, whether it’s a laptop or desktop.
What is the Windows Hello feature?
Windows Hello is built-in biometric security. This feature is available for Windows 10 or 11 users enabling them to log in to their computer with the blink of their eyes without typing their password every time. This feature enables them to quickly unlock their Windows PC or laptop with compatible hardware with fingerprint, PIN, and facial recognition.
Also, using Windows Hello biometrics is quite secure and alienates the risk of people spying on your password without your consent.
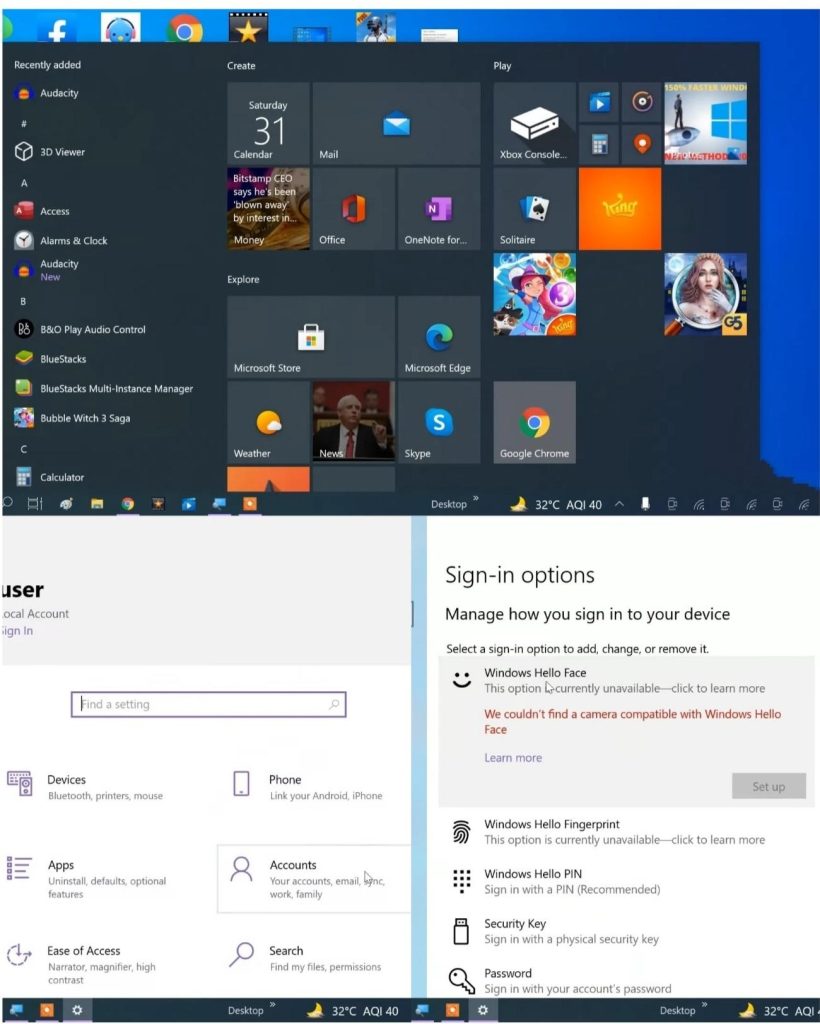
To check whether your PC has Windows Hello enabled or not, go to your Windows Settings. This will give biometric options available for your computer.
The steps are as follows:
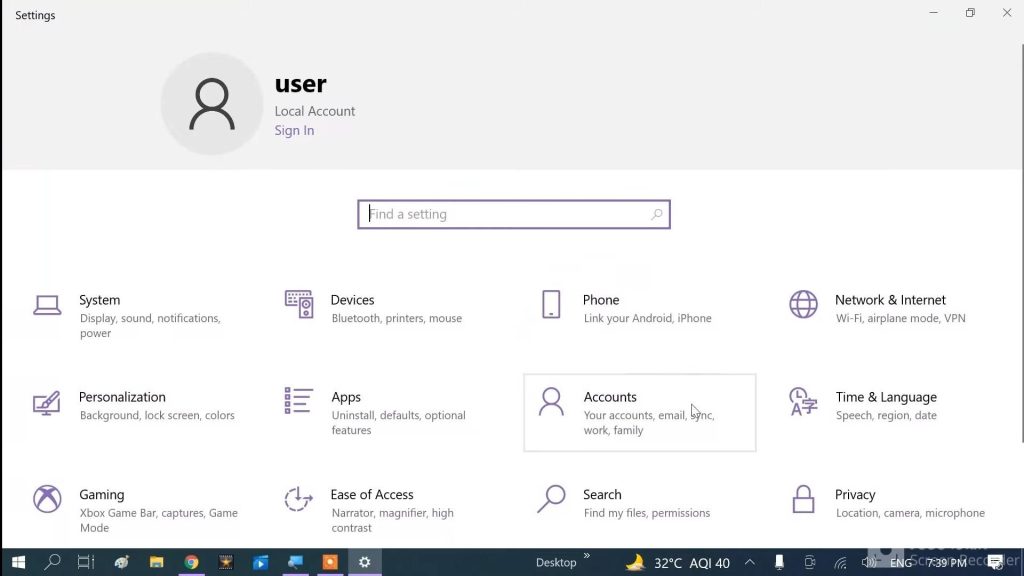
- Click on Windows Button or Go to Settings.
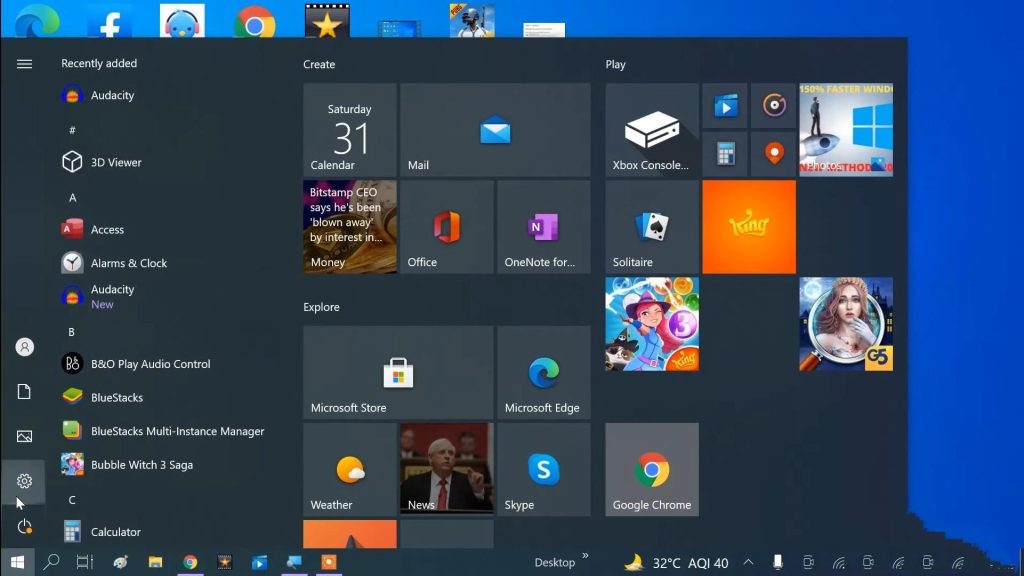
- Click on the Accounts icon.
- Click the Sign-in option on the left screen.

- Scroll down and Click the Windows Hello option to set up.
Note: If your system is compatible, you can look for a Windows-enabled webcam or fingerprint scanner to support the Hello feature. Some of them are as follows:
- https://amzn.to/3HxvuYZ (India)
- https://amzn.to/3DHaMF1 (US, Canada & other countries)
- https://amzn.to/3YiPa9V (India)
- https://amzn.to/3Hw7nKj (US, Canada & other countries)
Steps to Set Up a PIN
Setting up a PIN through Windows Hello is a quick and easy process that adds an extra layer of security to your device. It also serves as a backup option in case your facial recognition or fingerprint login is not working properly. Follow the steps to create your PIN.
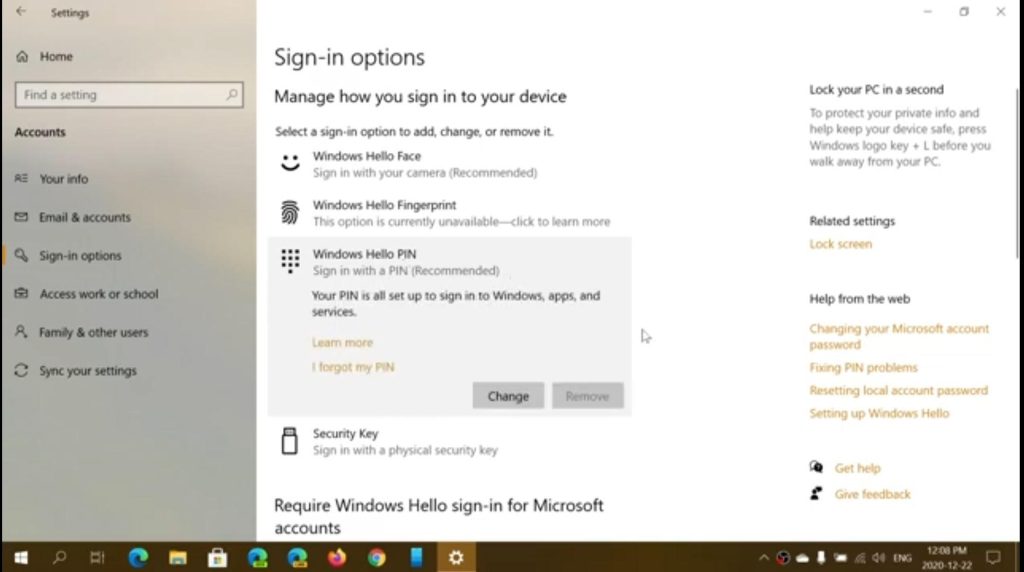
- Go to “Settings” > “Accounts” > “Sign-in options”
- Under “Windows Hello,” select “Add” under “PIN.”
- By default, you can include numbers in your PIN.
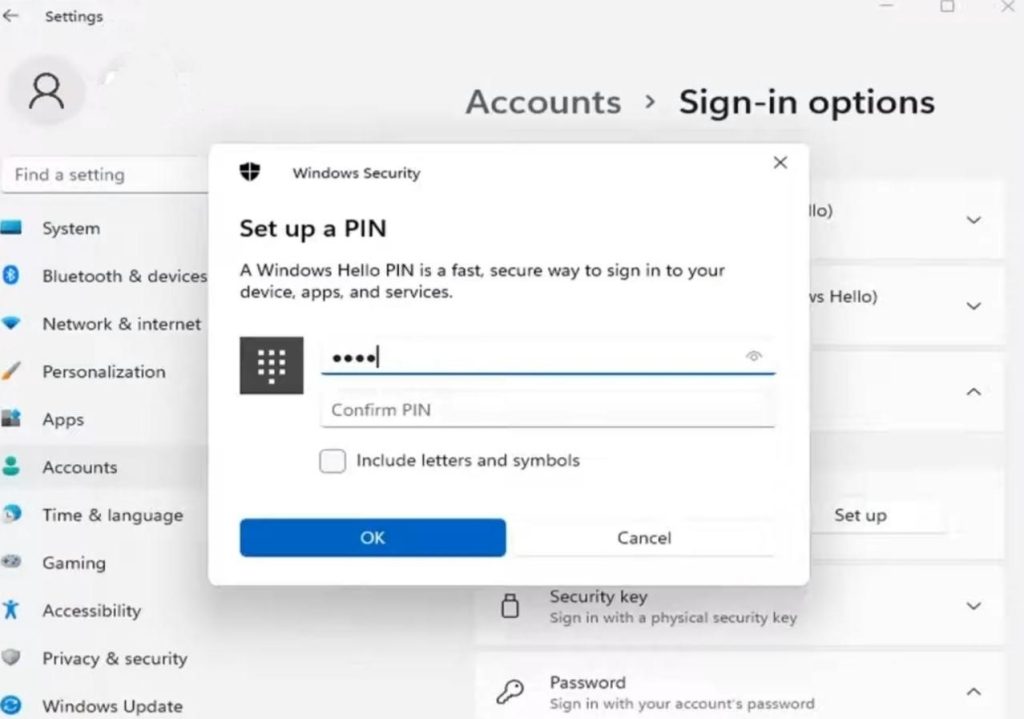
- To set up letters or Special characters, Click on the box next to letters and symbols.
- Click on the PIN requirements button, Select your requirement and type your PIN.
- Confirm the PIN and Click OK. Make sure to enter your PIN twice to confirm it.
Windows Fingerprint Recognition Feature
Most laptops nowadays have a built-in fingerprint scanner that supports Windows Hello. This feature is used with an add-on integrated fingerprint scanner. Quite similar to PIN security, but it requires you to lift your finger on the sensor to log in to the system.
To set up fingerprint security on your PC:
- Go to “Settings” and then “Account.”
- Scroll down to Windows Hello, and click “Setup” in the fingerprint section.

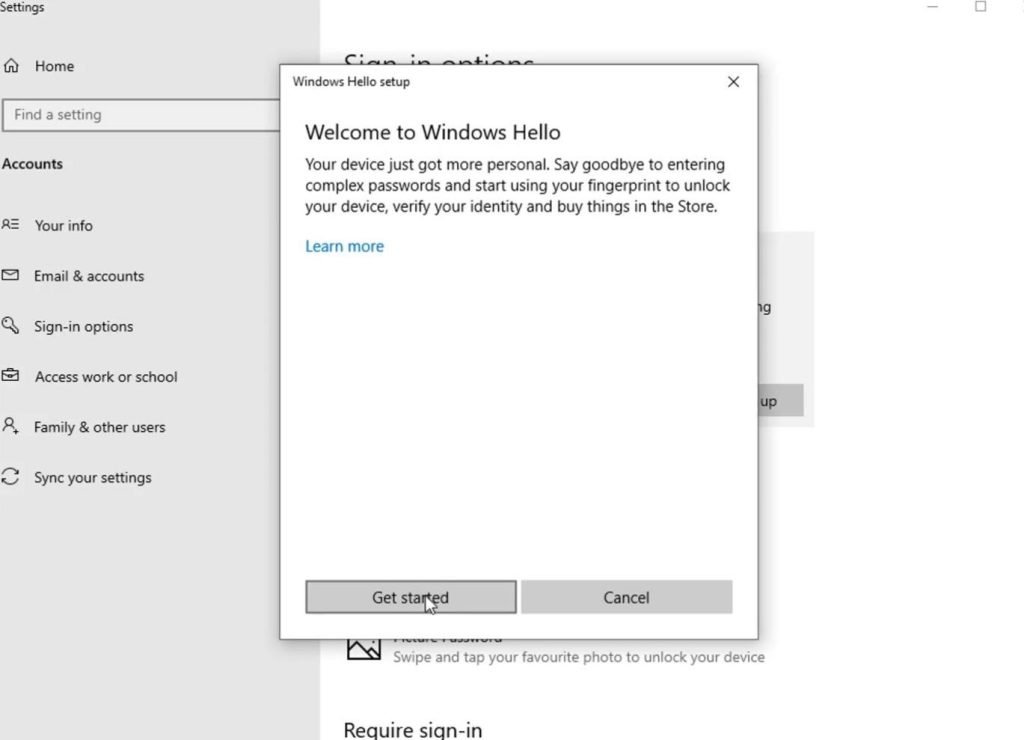
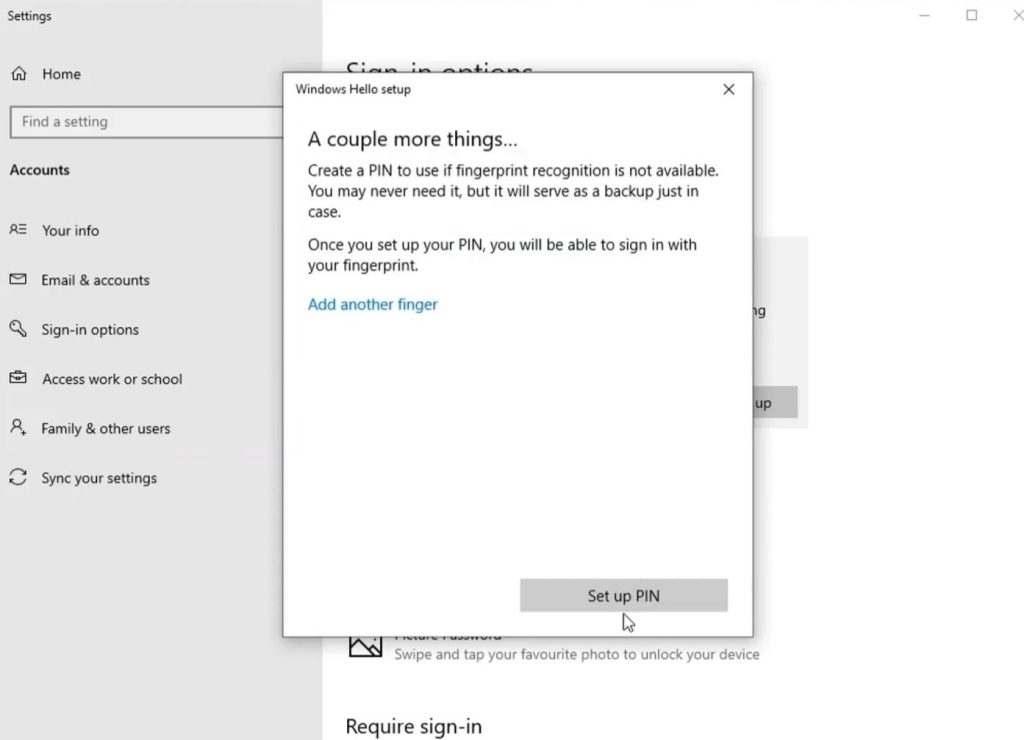
- Create a PIN if you haven’t already.
- Click “Get Started” and follow the ongoing instructions to scan your finger multiple times.
- Optionally, add more fingers by clicking “Add another.”
- Confirm the setup process when prompted.
If your system does not have fingerprint scanner hardware, you can purchase a USB fingerprint scanner and use it to enable fingerprint unlock on any Windows PC.
You may also watch the following tutorial to unlock Windows using the fingerprint scanner on your Android phone.
Enable the Facial Recognition Feature to Unlock Windows PC
Webcams or external cameras are mostly not compatible with Windows Hello. You must need to be sure to check whether the camera is included with Windows Hello before purchasing a laptop.
You may also purchase USB facial recognition camera and use it with your Desktop PC to unlock the PC.
This feature is more like the same as with the fingerprint scanner, you will need to look at the camera instead of your finger on the sensor.
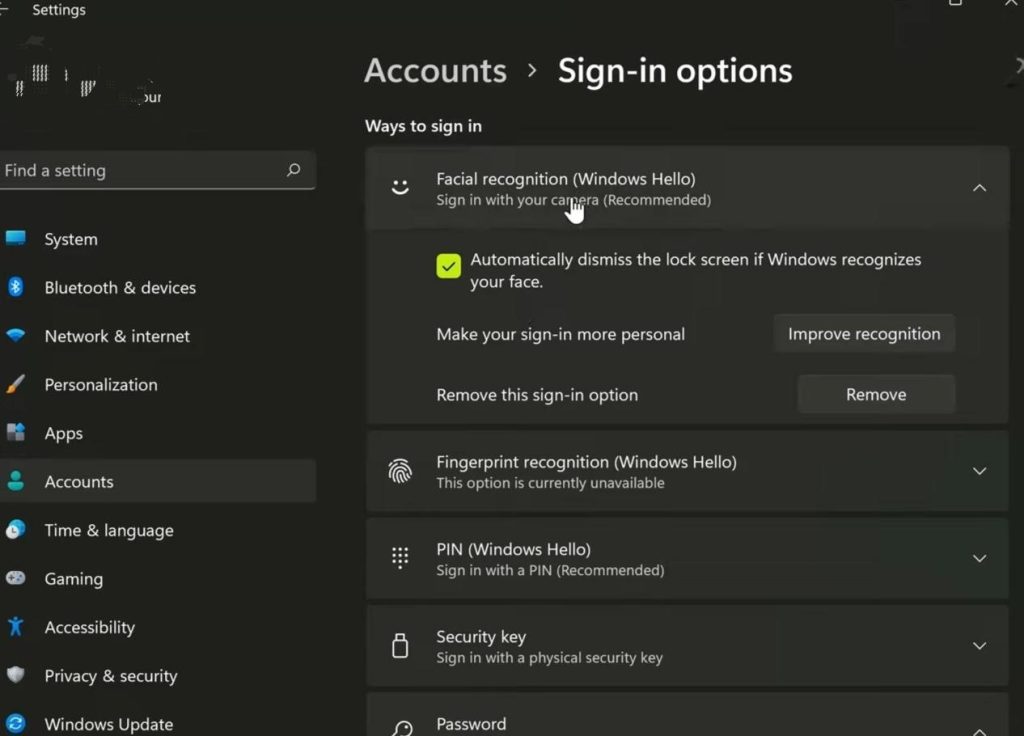
- Go to “Settings,” then “Accounts.
- Choose the “Sign In Options” button.
- Set up a PIN code if you haven’t already.
- Look for the option to set up Windows Hello and select “Face.”
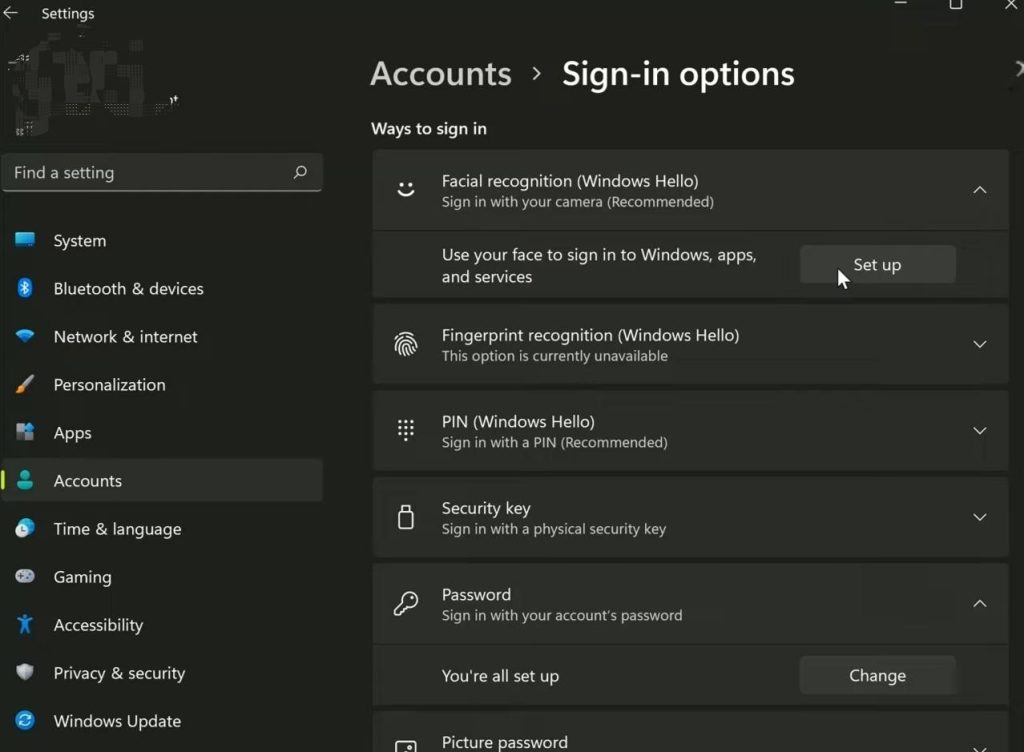
- Click “Setup” and follow the instructions.
- Position your face in the center of the camera frame to capture your biometrics.
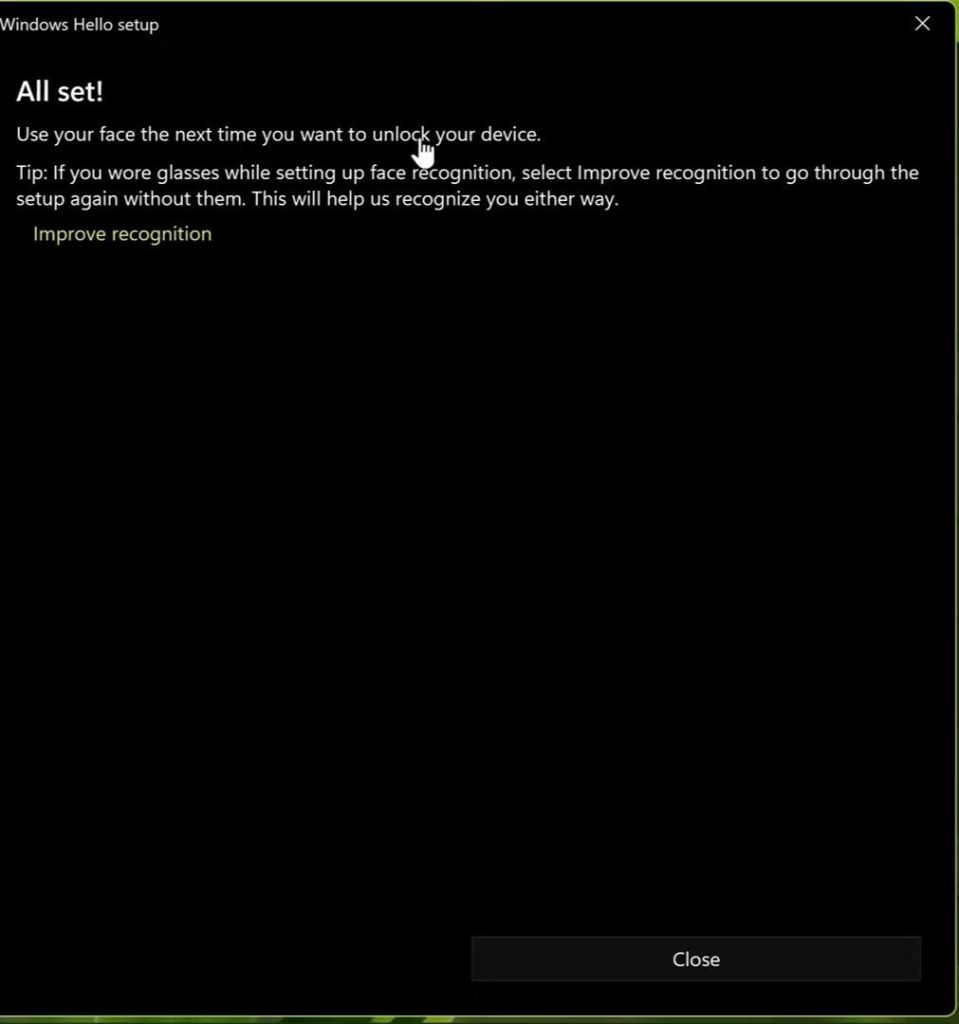
- Improve recognition by capturing your face with and without glasses if you wear them.
Remove Windows Password
If you have enabled Windows Hello in your system, you can also remove the password completely.
- Go to Settings > Accounts > Sign-in options.
- In Additional settings, enable “For improved security, only allow Windows Hello sign-in for Microsoft accounts on this device.”
- This will remove the password option at the login screen and allow you to sign in with your face, fingerprint, or PIN.
Note: If biometric authorization fails, you will not have the option to use a password as a fallback, but you can still sign in with your PIN.
Last Words
The next time when you sign in to your PC, the camera sensors will start blinking on the Lock screen. Just look at the camera and Windows will recognize your face and let you in.
Moreover, if somehow facial recognition is not working because of your beard or any other reasons, go back to your Windows Settings. Choose the relevant option and Click to Improve Recognition. The camera will then scan your face and this should be set. Fingerprint and PIN lock also works great. If there’s no hardware for the fingerprint scanner on your laptop, you can purchase a USB-based fingerprint scanner to use with Windows Hello.