
Table of Contents
Adding SSL or converting a WordPress site or any website from HTTP to HTTPS not only secures the website and build user trust, but it is also a major factor that can affect your websites SEO rank. Believe it or not, whether your website is HTTP or HTTPS can have a significant impact on the user and website performance.
One way to add SSL is to go to domain hosting sites like GoDaddy or BigRock and buy the SSL certificate. If you use a CDN, you can get one from there too. But the process of adding the certificate is not easy. Thus, if you are new and just starting up or don’t know how to set up free SSL on your website, then worry not. This guide is specially created for you.
Following this guide, you will be able to add SSL to your WordPress, Joomla, OpenCart, or any other CMS-powered website with just a few clicks. That too, for free. Yes, no need to alter server configuration or ask a developer to help you.
This is one of the easiest ways on the internet that will help you secure your website with a valid SSL certificate.
Steps to Add Free SSL to Wordpress or any other Website
Follow these steps to add SSL to WordPress site for free.
Step 1: Configure Your WordPress Website on CloudFlare
- Visit Cloudflare
- Signup using your email account
- Verify account signup
- Add Website and your server IP
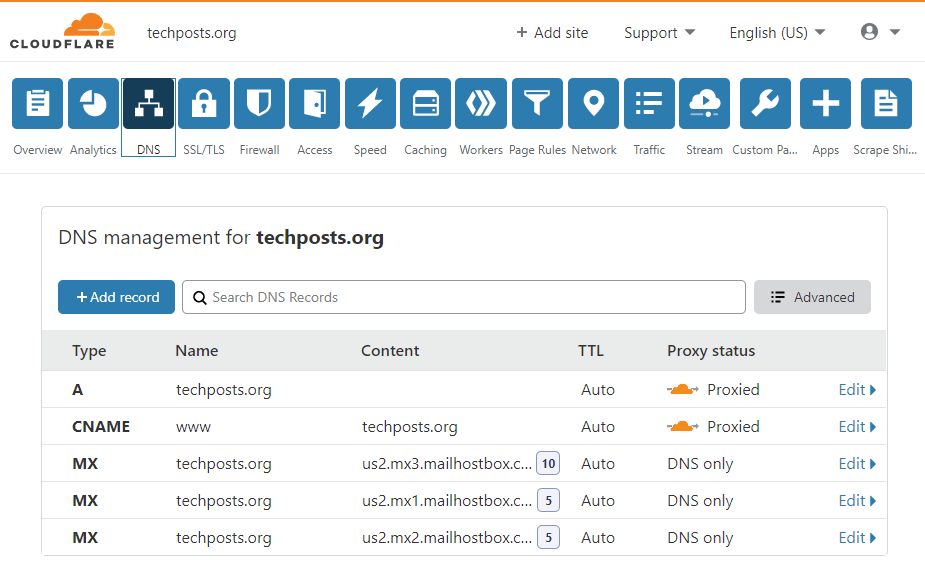
- Add CNAME and A. Then Save these settings
Step 2: Change Domain nameservers
Next you need to change the Nameservers of your domain with Cloudflare’s nameservers. The steps are as follow,
- Copy the Two nameservers shown by Cloudflare

- Change Nameservers. To know how to change nameservers, visit your domain issuers website such as Godaddy, for more details.
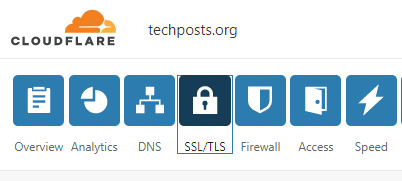
Step 3: Activate SSL
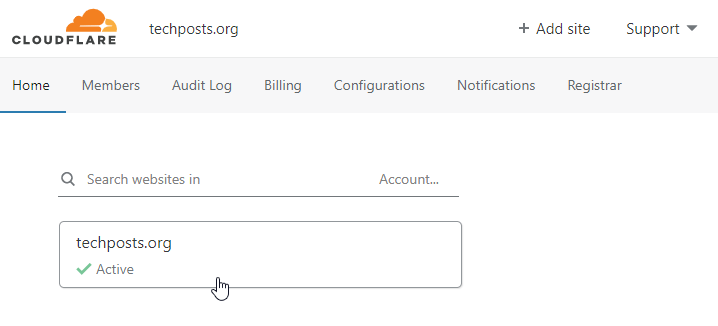
- Now go back to Cloudflare and select your website
- Then click on SSL/TSL
- Choose Full
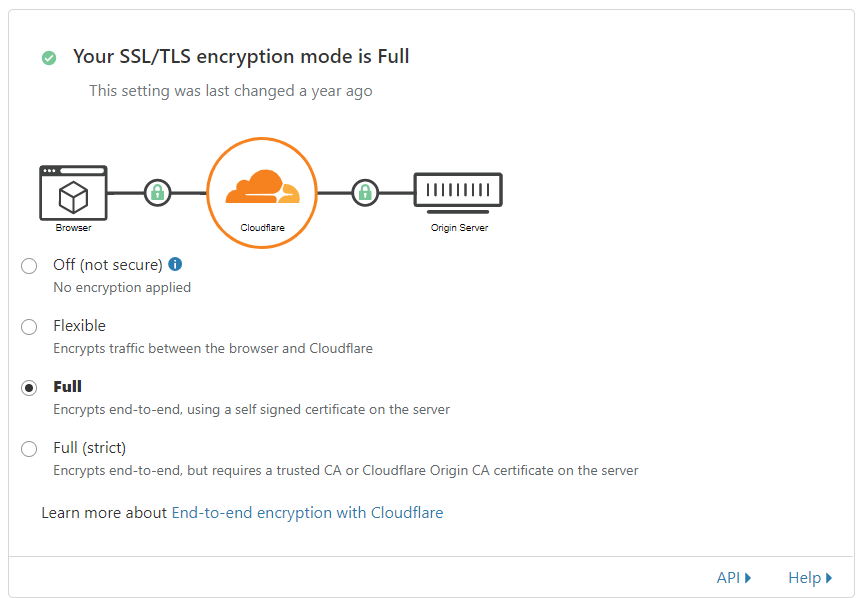
And that’s it.
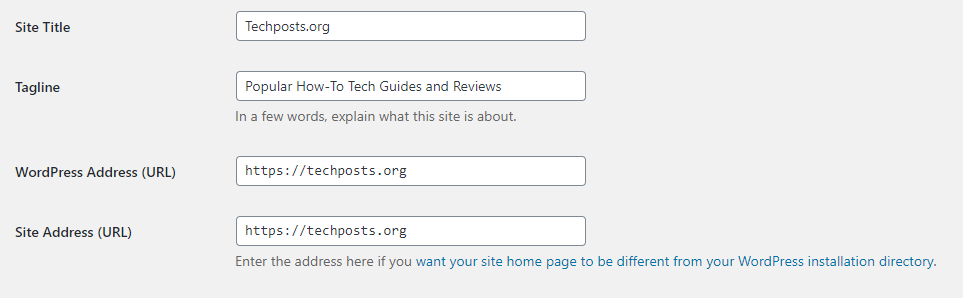
It will take up to 24 hours for changes to propagate. Meanwhile, if you own a WordPress site or any other site, change HTTP to HTTPS everywhere, including Google Search Console.
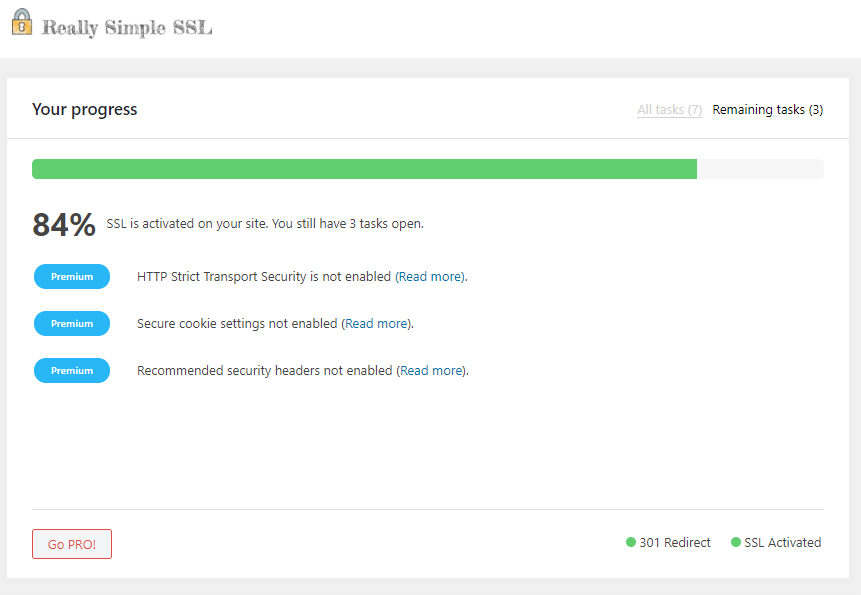
Additionally, WordPress users can install Really Simple SSL Plugin to ensure a smooth transition from HTTP to HTTPS.
So that’s how you add free SSL to WordPress site or any other website by using Cloudflare. Leave a comment if you need help or have any suggestions. Subscribe for more exclusive guides.