
Welcome to TechPosts Guide, I am Ravi and this is a much-awaited guide on the Razer Tiamat 7.1 v2 headphone setup. So in this video, I will show you how you can set up this beast with your PC having three or more Audio Jacks at the back and have the best experience with this headphone.
Steps to Setup and Configure Razer Tiamat 7.1 v2 Gaming Headphones
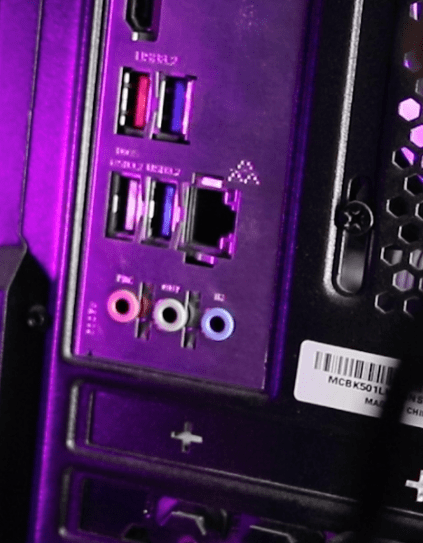
First, you need to ensure that your motherboard supports 7.1 audio. Some motherboards that support 5.1 or 7.1 come with just three audio jacks at the back, which include a Stereo Output, a Line in, and a Mic jack. Other more expensive motherboards come with either 5 or sometimes 6 Audio jacks.
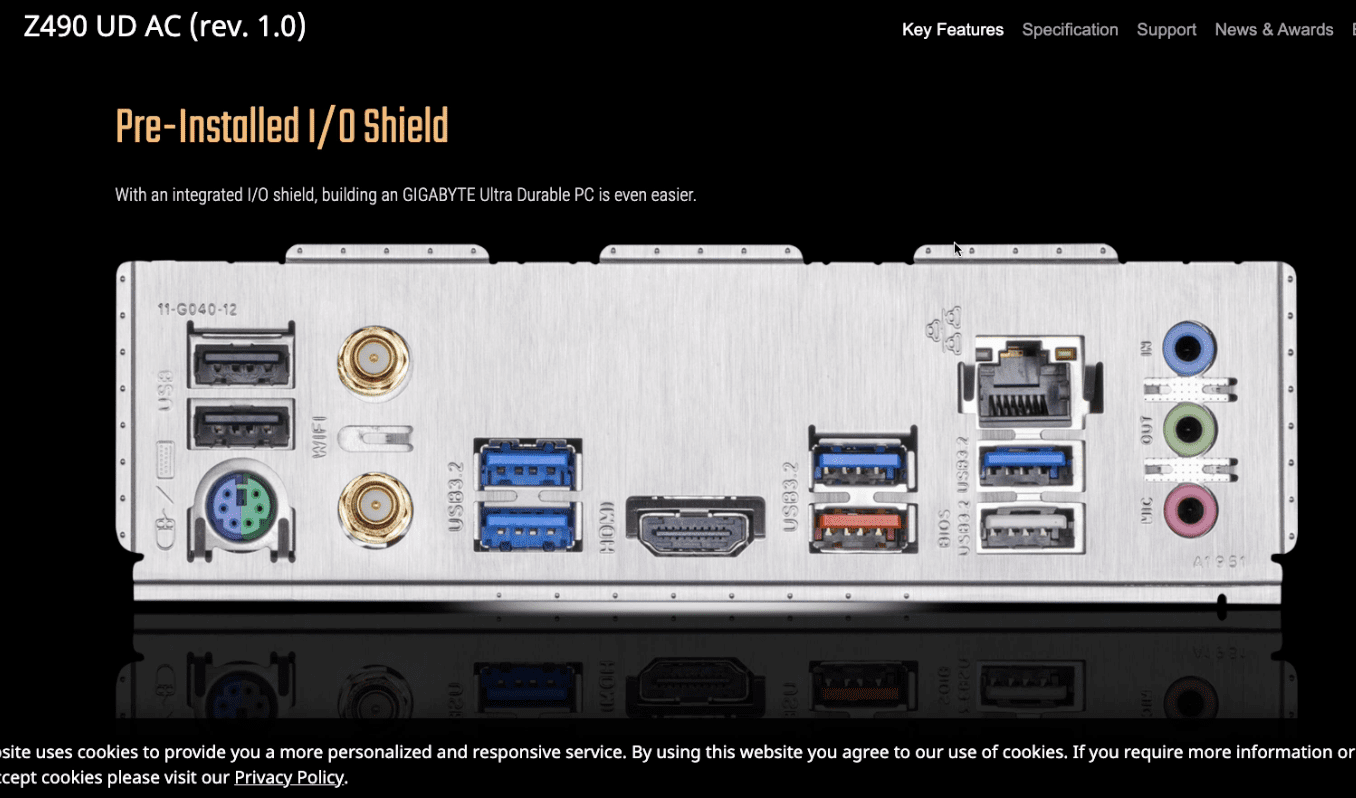
But in my case, my motherboard has only three jacks at the back. And that was the problem. However, I still ordered the headphone coz I checked the Gigabyte site and saw that it does support 7.1 audio.
But the thing is, you need at least five audio jacks to run a true 7.1 audio system or a headphone, like Razer Tiamat 7.1 v2.
But to get that 7.1 audio, you need to do some tweaking by using the Realtek Audio Console. Now before we move ahead, please ensure your motherboard supports 7.1 audio and Connector Retasking via Realtek Audio Console.
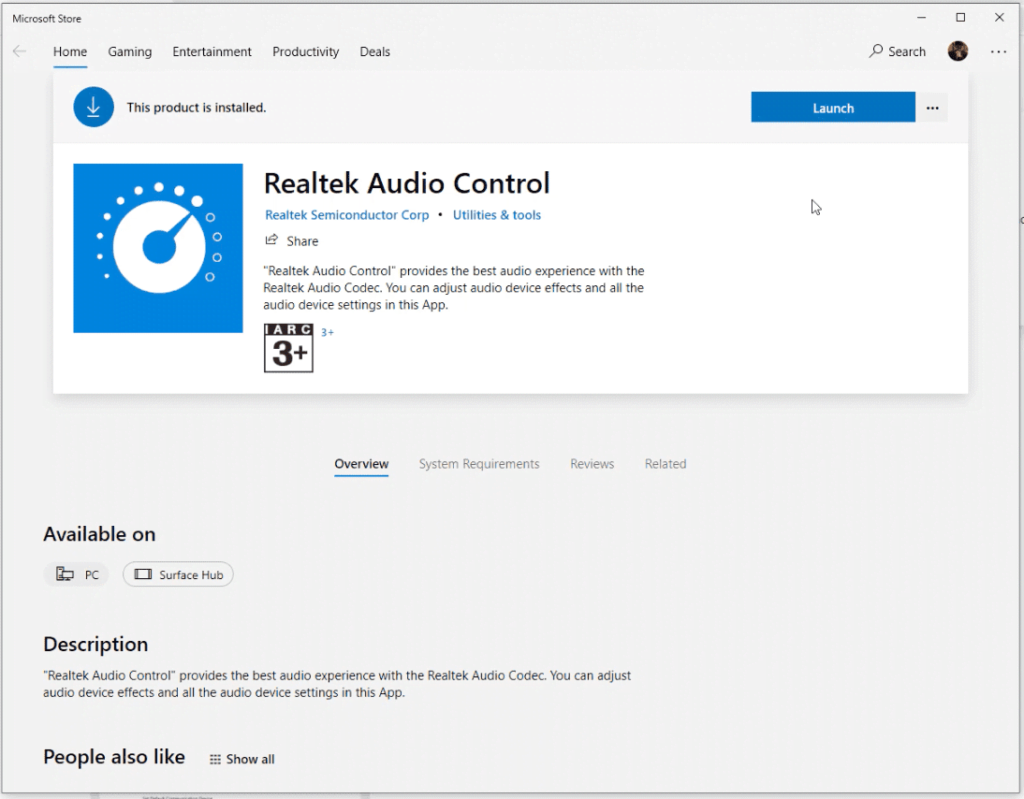
To find out, download and install the Realtek Audio Console via the Microsoft Store. Then follow these steps,
- Launch the Realtek Audio Console app and go to Speakers
- From the Speaker Configuration drop-down, select 7.1 Speaker
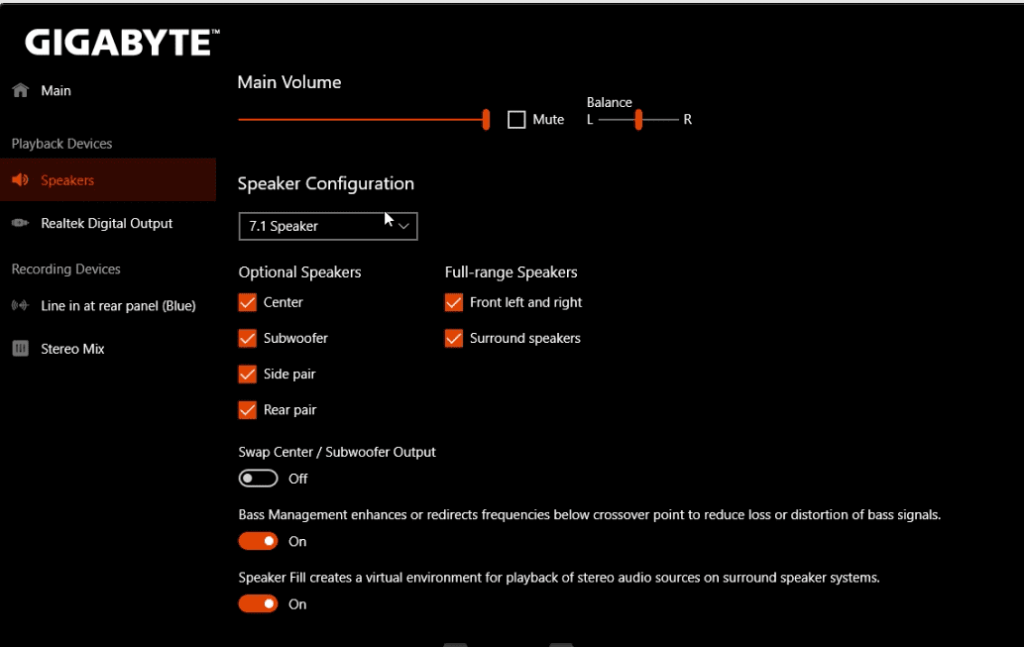
- Then enable the ‘Bass Management enhances or redirects….’ toggle switch to ON
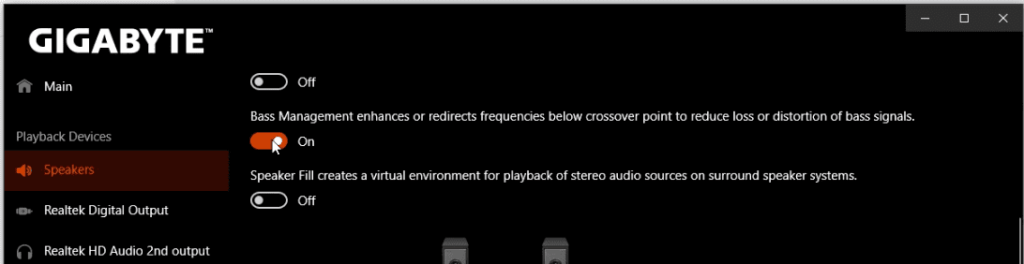
- Now click Device Advanced Settings. If you see a Connector Retasking option, you are good to go.
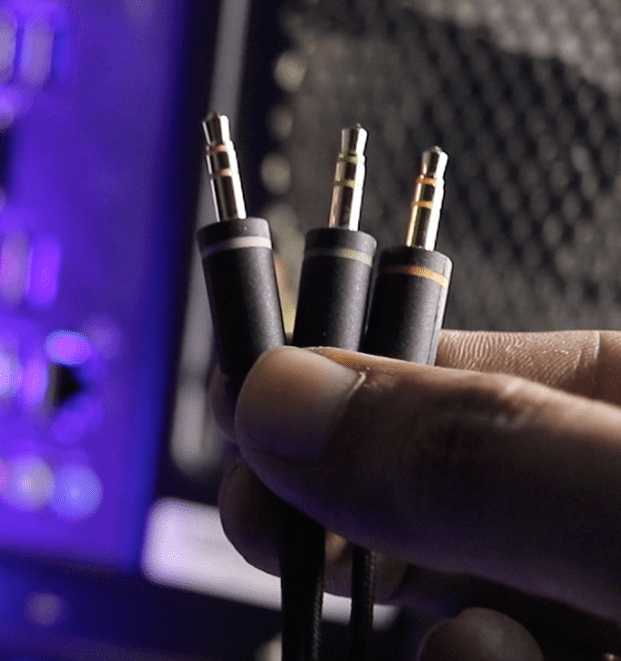
- Now what you need to do is plug in your Razer Tiamat audio jacks. If your motherboard has 3 at the back, connect them as follows,
- Connect the Orange connector to the Pink or first jack at the back
- The green one to the green or Middle jack at the back
- The Pink one to the blue or the last jack at the back.
- You will have two more to connect and for that, we will use two 3.5mm extension cables and connect the extension cable to the front two jacks. And then,
- Connect the Grey coded connector of Razer headphones to the front Headphone jack
- Connect the black connector to the Mic input jack at the front.
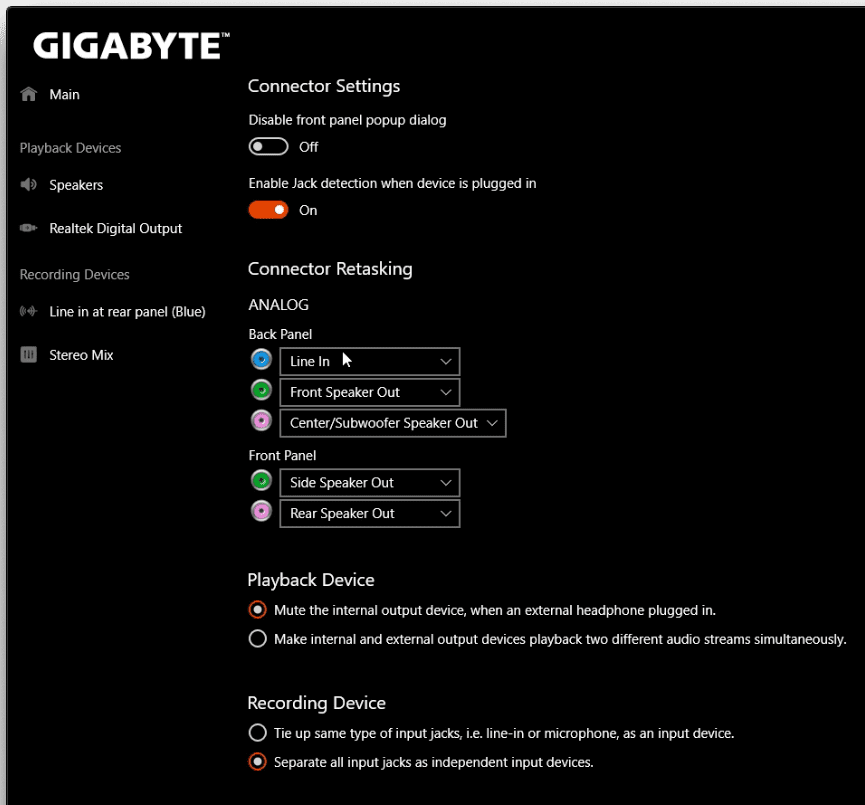
- Now, go back to Realtek Audio Console and click ‘Device advanced settings
- From the Back Panel connectors, select ‘Line IN’ in blue Jack, Front Speaker Out in Green, and Center/Subwoofer Speaker Out in Pink.
- In Front Panel, choose Side Speaker Out and then Rear Speaker Out.
- That’s it. After retasking the connector and trying a few variations, you can achieve true 7.1 surround sound from your Razer Tiamat headphones.
Video Guide
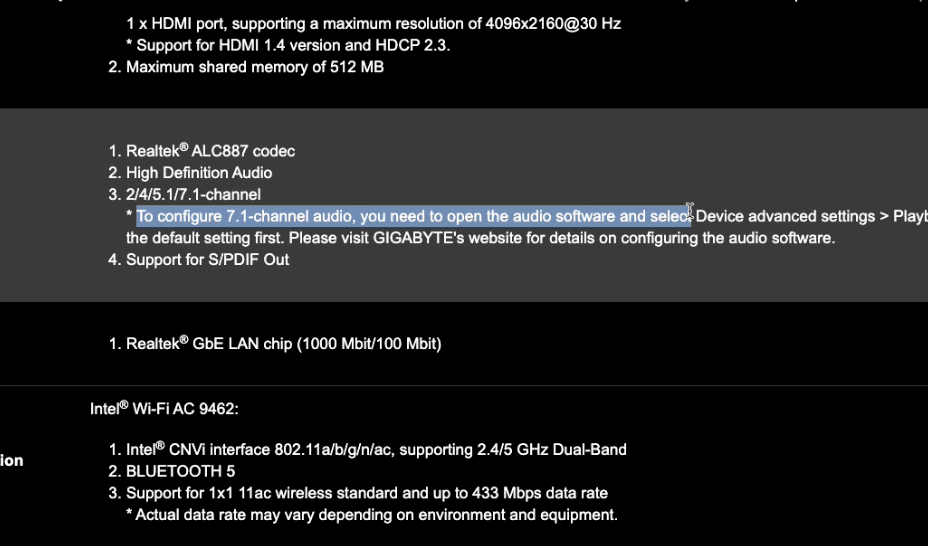
In my case, the 7.1 surround sound works well with my onboard Audio which is ALC887. However, there’s a static noise that is noticeable only when you are gaming and on a silent screen.
So I recently bought a sound card for this headphone, which just changed everything. I am now having the best experience with this headphone and now I can confirm, that although it works with the onboard 7.1 audio, a sound card makes a huge difference as it also shields the Electromagnetic interferences which gives better sound clarity and no static noise.
I will review the sound card soon, it’s a budget sound card, under 5000 or $70 USD.