
Table of Contents
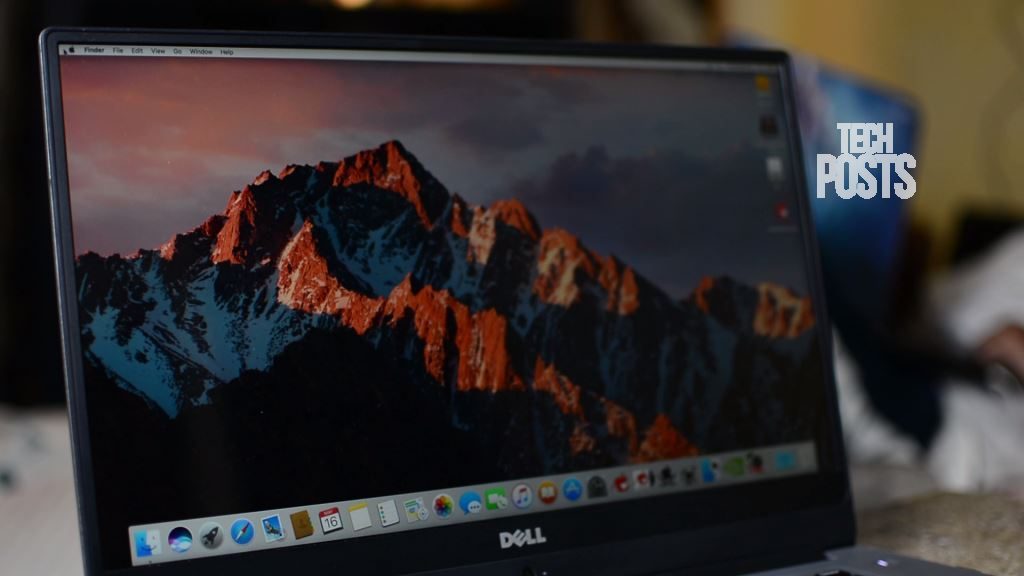
I got a lot of requests to create a video guide on installing Mac OS in Intel’s 7th Generation Kaby Lake system, especially the Dell 7560. So Today we will be installing The Mac OS Sierra on a Kaby Lake Windows 10 Laptop Powered by i7 7500U with 8GB DDR4 RAM by using a Windows Laptop. We don’t need a Macbook for this. So if you have a Laptop or a system powered by 7th Gen intel processor, then follow this guide. It doesn’t matter much if your processor is i5 or i7 or a dual core U series of HQ quad core series. I already uploaded a video post of my Dell Laptop installed with Mac OS Sierra and discussed what works and what not. So make sure you check out that post with video before you proceed with this tutorial.
https://www.youtube.com/watch?v=lzO1MfnHYrQ
Install Mac OS (Hackintosh) on any Windows Laptop
I will not go deeper into how I eventually end up installing Mac OS sierra on this Kaby Lake system. Coz Believe me, people, it was not easy. Even if it installs, doesn’t mean all hardware will be supported. You need to figure out yourself and make your hardware work by decompiling, patching and compiling DSDT, SSDT or installing already available kexts, if you are lucky. Otherwise, you need to create your own Kexts. Keep in mind, not every Hardware is supported by Mac OS. Basically, it’s not easy to make every service working on a Hackintosh but it’s also not that hard to figure out. Anyways, let’s proceed with the Tutorial.
Things you need to Install Mac OS on Windows PC Powered by Kaby Lake Chip
- A 16GB USB Thumb Drive (preferably a 3.0).
- TransMac or Win32Disk Manager Installed on Windows.
- Hackintosh Sierra Zone 10.12.3.dmg Disc Image File (4.3GB approx.).
- A Laptop or PC powered by any 7th Gen Intel Kaby Lake Processor.
- Empty Volume or a disk partition where Mac OS will be Installed. You can also use an External USB 3.0 HDD or SSD. Make sure it’s empty. Learn more about creating Disk Partitions Here.
- You must download this zip folder containing EFI files to load Mac OS (very important files).
Steps to Install Mac OS on a 7th Generation Kaby Lake Laptop or PC
1. Creating Mac OS Installation Disk and arranging files.
Step 1. So first, you need to download and install the TransMac app on your Windows. Also, download and save Mac OS Sierra.dmg file.
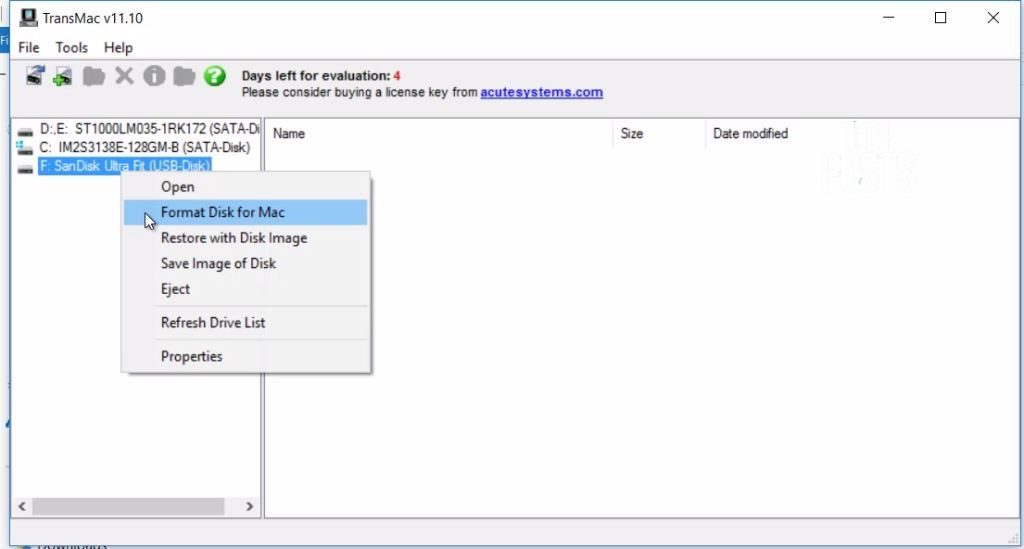
Step 2. Run Transmac as Administrator, then wait for few seconds as this a free version. I recommend you to Use a 16GB 3.0 thumb drive to make installation quick. Now right click on your thumb drive from the available drives, choose Format Disk for Mac.
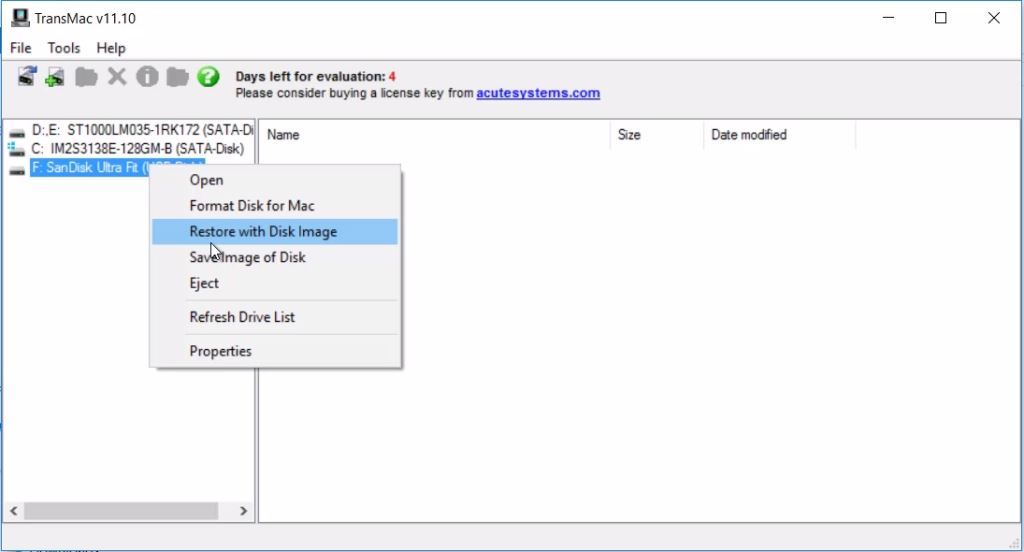
Step 3. Now again right click on the Thumb drive and choose to Restore with Disc image. Click Yes when prompted. Now browse the Mac OS Sierra.dmg file and select it. Click Ok and then yes to proceed writing a file on a thumb drive.
Step 4. This process can take several minutes as TransMac is slow. It took more than 25 minutes to write this image on my system. Alternatively, You can use Win32Disk Manager instead of TransMac to make writing process faster.

Step 5. Once done with creating Mac OS installation drive, open the drive and delete all files and folders and replace them with these two folders which contain custom Plist files and settings for installation of Mac OS Sierra on a Kaby Lake chip. The link is given a description, download extract and pastes in the Thumb drive.

Step 6. Also, Make sure to create a separate empty disk volume where you will install Mac OS. I am using External SSD for this purpose. Be cautious about this.
2. Setting up BIOS
Step 7. Now restart your Laptop or PC. When restarted, quickly Tap F2 or F12 to enter the BiOS setup. And inside BIOS we need to change few settings in order to install Mac OS.
Step 8. In Dell, particularly Inspiron 7000, Disable Powershare, then disable Secure Boot, it very important that you disable safe boot. Then Look for option called Virtualization.
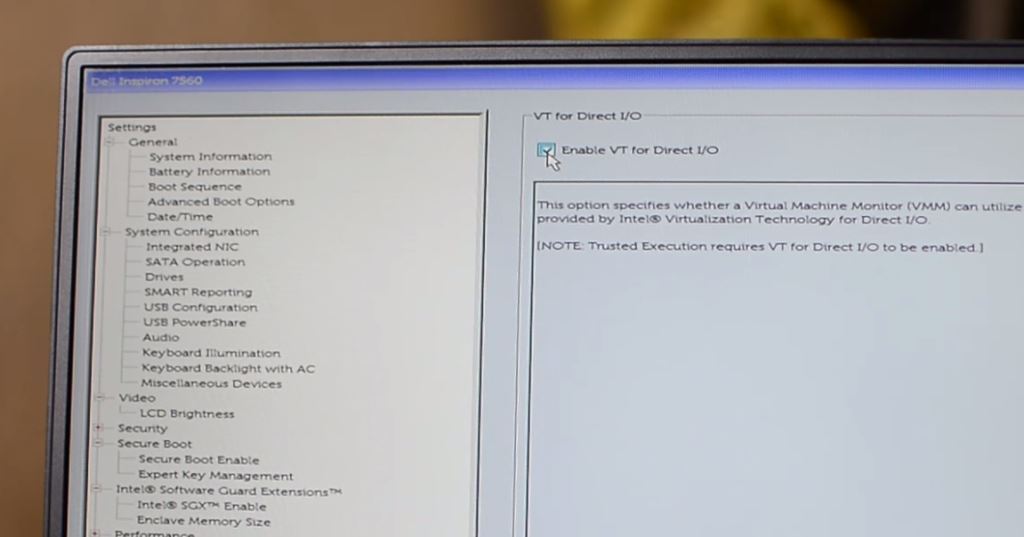
Step 9. Under virtualization, disable VTD or VT for Direct I/O. That’s it. Now boot your system and press F12 to see Boot options. Select your thumb drive to begin installation.


3. Installing Mac OS Sierra via USB Thumb Drive (Clover Bootloader)
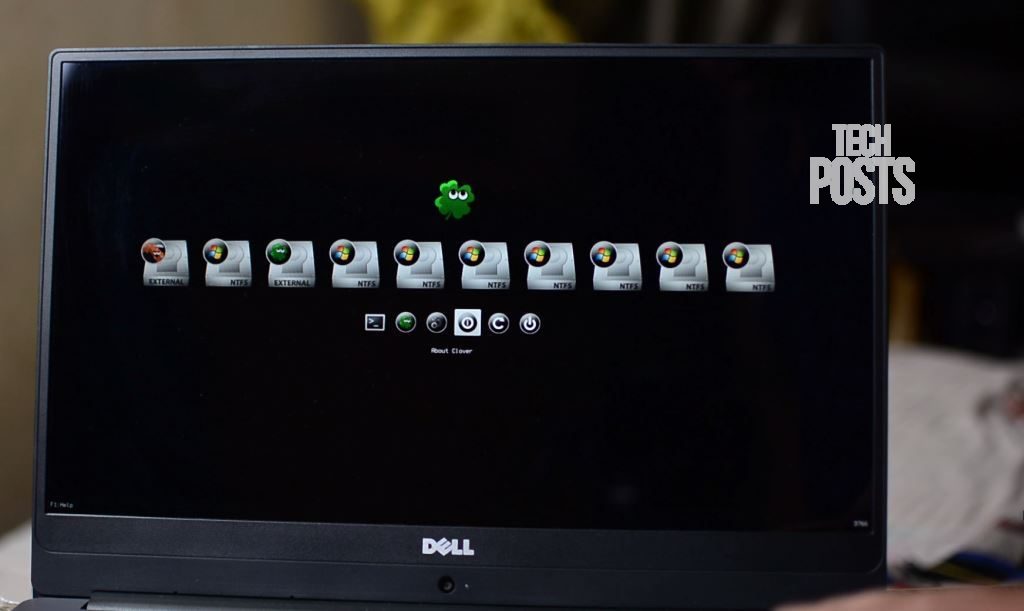
Step 10. Once booted, you will see a bunch of options. This is the Clover bootloader that will help us to install Mac OS on this system.
In Clover options, you can make changes if there are any errors during installation or enable safe mode to install Mac OS. There are a bunch of options available, don’t play with them unless you know what you doing. Now Select “Boot Mac OS X from Hackintosh Sierra Zone”.
Now you will see the Apple logo on the display, loading installation files. Proceed to next step by pressing forward arrow button, and agree to all terms and conditions.

Step 11. Now click on Utilities to open Disk Utility. Then choose the drive where you want the Mac OS to be installed. Make sure the volume or disk is empty as this will delete all data from the disk. On top, click Erase, Give a name to the disk, Choose Mac OS Extended (Journaled) and GUID Partition from the drop downs. Hit erase, this will format the hard drive and make it ready for Mac OS Installation.


Step 12. Now close disk utility and select the disk you just formatted. This will begin installing the Mac OS on your System. This may take 20-30 minutes, depending on your system. So, I will skip this.

Step 13. This installation is almost finished. But we got an error saying, installation failed due to some error. Just ignore this as the Mac OS has been installed. This is the Hacked version of Mac OS Sierra by Hackintosh, that’s why we sometimes get these errors. Not easy to solve.
Anyways, Restart your system, choose Thumb drive to load Clover bootloader.
Step 14. Here, notice that we have two options available now with Name External. Choose the one that says, Boot Mac OS. This will boot Apple’s Mac OS Sierra on your system. First boot may take some time, so wait for it to finish. Now complete the initial setup. Choose Region, Timezone, Agree to terms etc.

Step 15. Now name your system anything, choose a password and click on Continue.
That’s it. Mac OS Sierra 10.12.3 has been successfully installed on your Intel’s 7th Gen Kaby Lake i5 or i7 Processor. To know more about the working and non-working hardware issues, please watch our video. You can also use following very useful resource links where you can learn more about Post Installation steps and how to make everything working.
https://youtu.be/PiqikepEqKo
Helpful Links:
- For more detailed guides and Post Installation Steps
- Download Kexts
- For all resources and more help
- Learn How to Patch DSDT & SSDT
Conclusion
But if you have any question, doubts or issues related to the installation of Mac OS Sierra Installation on windows PC or Lappy powered by 7th Generation Intel Kaby Lake processor, just comment down below. I will try to answer and solve your problems as quickly as possible. So let’s work together and let’s find out solutions together. Also, If you want to learn something new every day, make sure to Subscribe to our newsletter, we post fresh exclusive How to guides and reviews 4 days a week, sometimes even more.
Alternatively, Visit our YouTube Channel “Techposts Guides“ for more HowTo Tech guides. Don’t forget to hit subscribe, Like this video, share this video, I will be back with a new video guide soon. Thanks for watching and visiting Techposts. Have a wonderful time.